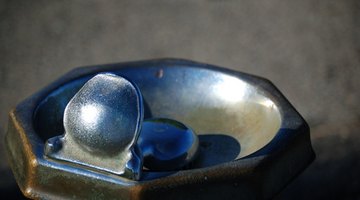
How to Adjust a Drinking Fountain
Adjusting a drinking fountain means adjusting the water flow coming into the fountain itself. Too much flow will cause water to cascade over the end of the fountain bowl or splash along the sides, and too little water flow will not allow anyone to receive an adequate drink.

Things You Will Need
- Flat-blade screwdriver
- Phillips screwdriver
- Allen wrench
Tip
This task can be done alone, but having another pair of hands to keep the water flowing will make the adjustment easier.
Warning
Most adjustment screws are made of metal. However, some water fountain models use plastic adjusting screws; be careful not to overturn or overtighten plastic screws until they break.
Of course, water flow out of the fountain is subjective. Adjustments are more easily made with someone to help out.
-
Locate the screws that hold the cover of the drinking fountain in place, and remove them. You will need either a flat-blade screwdriver or a Phillips head to do this. Rotate the screws counterclockwise, and place the cover off to the side.
-
Locate the fountain head water adjustment screw. It will be found beneath the valve that activates the water flow, on the water feed pipe that supplies the fountain head.
-
Turn the valve handle or push the valve button to activate the water flow.
-
Insert the applicable tool into the adjustment screw. This tool may be a flat-blade screwdriver, a Phillips screwdriver or an Allen wrench head, depending on the model of the water fountain you are servicing.
-
Rotate the adjustment screw in a counterclockwise direction to increase water flow or in a clockwise direction to decrease water flow. Turn the screw in half-turn increments, and monitor what happens to the water pressure at the fountain head. Adjust the water flow accordingly, and make sure that there is enough flow for a comfortable drink.
-
Replace the cover when your adjustment is complete.
References
Writer Bio
Dale Yalanovsky has been writing professionally since 1978. He has been published in "Woman's Day," "New Home Journal" and on many do-it-yourself websites. He specializes in do-it-yourself projects, household and auto maintenance and property management. Yalanovsky also writes a bimonthly column that provides home improvement advice.
Photo Credits
- drinking fountain image by robert mobley from Fotolia.com
- drinking fountain image by robert mobley from Fotolia.com
More Articles


