


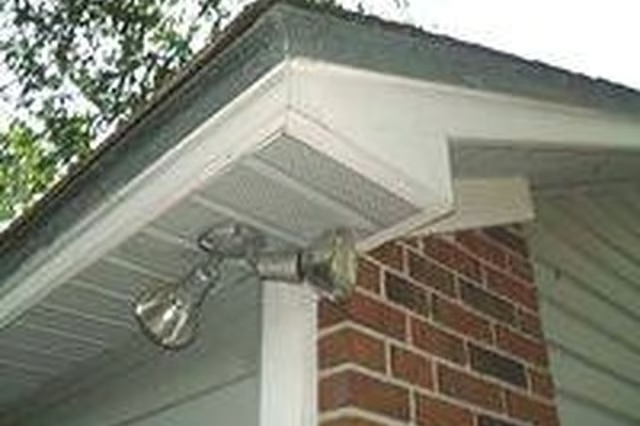
Installing soffit on the gable portion of the eaves is no different than installing it on a horizontal overhang, except that you will likely faced increased safety concerns because the gable is higher. With the correct tools and supplies, you can install soffit on your gable roof.
Things You Will Need
-
Put on leather gloves. This is the first step in installing soffit because the edges, once cut, are very sharp. Regular cloth work gloves will not protect your fingers and hands. In addition, wear a long-sleeved shirt and avoid carrying the cut soffit edges against your body.
-
Measure the width of the sub-fascia. This is the space on the underside of the eave, from the wall to the outer eave board. The standard measurement of overhang is 12 inches but the dimension on your home may be slightly different.
-
Install the F-Channel mold along the underside of the sub-fascia. The F-Channel will run the entire length of the gable, from the bottom to the upper tip, and then down the other side. The F-channel will hold the soffit in place and cover the cut edge, hiding it from view.
-
Cut your soffit in pieces. Although it comes in one long strip, you will notice that there are a few ridges running down the length of the strip. When installed, these ridges will run perpendicular to the house. Look on either side of the long soffit strip. One side has a groove. This groove will stabilize the adjoining piece of cut soffit.
-
Use a chop saw to cut numerous pieces of soffit to the same width as the sub-fascia, minus 1/8 inch. This allows for expansion and contraction in weather extremes without warping.
-
Begin at one bottom edge of the gable and slide the soffit into the F-Channel along the wall. The other end will be closest to you. Before you nail it, slide it a tiny bit out from the back of the F-channel, approximately 1/16 inch. This is a very small amount but it will keep your soffit from bending later.
-
Nail the close edge of the soffit to the fascia with one roofing nail in the middle of the section. Now you're ready to install the next piece. Follow the same process, but this time, slide the smooth edge of the new piece into the groove of the first piece. This gives your soffit a uniform look. Attach it to the soffit in the same manner and continue working your way up the gable.
-
Bend the top piece instead of cutting it. For the smoothest look, you can easily bend the top piece and nail it on both sides. After this piece is installed, you're ready to work your way down the other side of the gable. Follow the same steps and cut the length of the last piece of soffit to fit.
The Drip Cap
- Soffit is the hard aluminum, wood or vinyl material that covers the underside of a roof's overhangs and provides a finished look.
- This is the first step in installing soffit because the edges, once cut, are very sharp.
- Regular cloth work gloves will not protect your fingers and hands.
- Install the F-Channel mold along the underside of the sub-fascia.
- The other end will be closest to you.
- This is a very small amount but it will keep your soffit from bending later.
- Bend the top piece instead of cutting it.