Things You Will Need
Drafting tools are often delicate and have many intricate and small pieces that need to be well maintained to continue working properly. Organizing and storing these items has a great deal to do with keeping them in pristine shape and working correctly. With a little patience and developing a routine, your tools will be well taken care of and working for a long time.
-
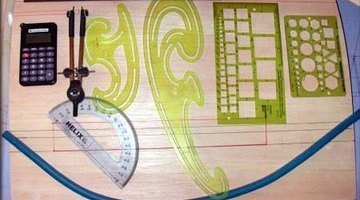
Lay out all the drafting tools that you use and separate them into piles of like items. Place all pencils together, markers, erasers, rulers, stencils, paper and miscellaneous.
-
Using the cleaner, spray the cloth and wipe down supplies that have residue on them. Pencils, markers, stencils and rulers often retain oils on them from fingers.
-
Take the erasers and rub out any black marks. Do this by rubbing the eraser against a clean piece of paper until the black smudge has disappeared. For kneaded erasers, these can simply be stretched and remodeled into a ball, similar to bread dough, to get the black smudge marks out.
-
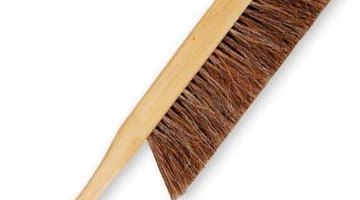
Run your hands through your drafting brush to remove any loose debris. Then, wipe it down with the cleaning cloth to remove any residue from the handle.
-
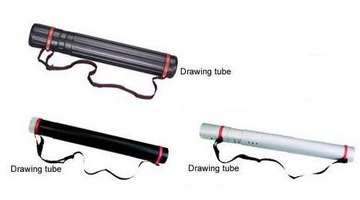
Roll up your drafting papers into a tight roll. Secure them with a rubber band at each end. Place the roll into a drafting tube for storage.
-
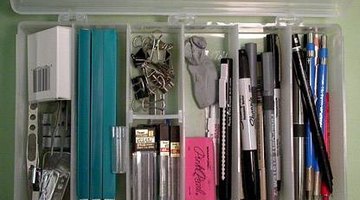
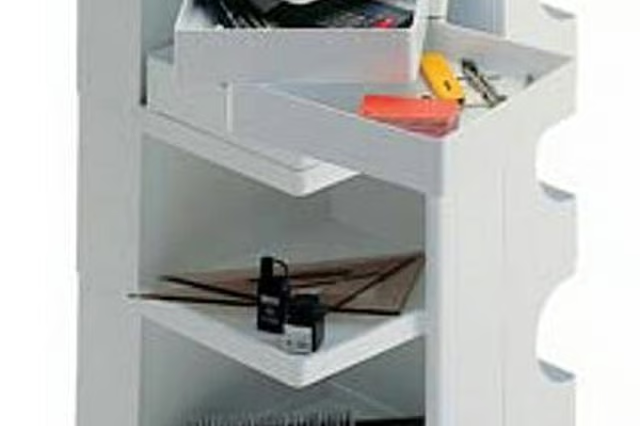
Place the pens and markers into the long slots of the organizer tray. Place the erasers in the smaller cube slots. Fill in with any other drafting materials, such as lead refills, push pins, paper clips, small rulers and mounting stickers.
-
Take your compass and wipe it off with the cleaning cloth. If it is going to be stored in the organizer tray, wind the compass down until it is straight (versus at an angle, making a triangle shape). If it has its own case, then wind it to the size the case has set for it to be stored, and place it into the box.
-
Make a folder to hold all your stencils. Create holding flaps in an ascending order so the stencils can be layered and easy to see and access when needed. To make these flaps, simply use card stock paper and cut it into 3- or 4-inch sections. Glue each section onto a large main piece of card stock, starting towards the top for the smallest stencil and working your way down to the bottom. Glue three of the four edges, leaving the top edge open for the stencil to slide into.
-
Place this newly made stencil holder into a large plastic or mesh pouch. Put a dry cleaning cloth in the pouch, placed over the stencils, to help keep them clean.
-
Place the drafting brush and rulers into the pouch. Then place the organizer tray into the pouch. If the compass had its own storage box, then place this in the pouch. All the major tools should now be in this portable carrying pouch with your paper in the separate portable carrying drafting tube.