Things You Will Need
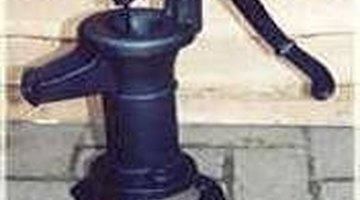
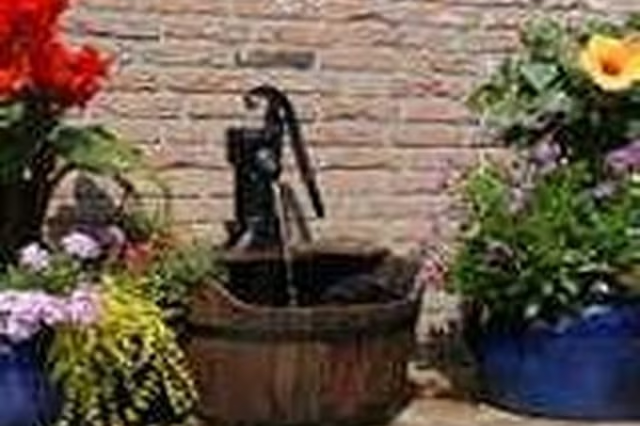
Although modern conveniences are better, the rustic look of the old water pumps are a beautiful addition to any garden. Take a trip to a junkyard or flea markets to find different sizes of the old hand pumps to convert them into water fountains.
-
Choose a location for your water fountain. Keep in mind that it will need to be close to an electrical outlet. Also, decide on how big the fountain will be to determine how big a water pump, barrels and concrete pad will be. Leave enough room between the pad and any structure to hold the pedestal for the fountain, which will be built with five 4-by-4-inch boards. The pedestal will be 12 inches square.
-
Place the concrete slab in the area the fountain will be. Make sure it is level.
-
Place one barrel close to the back edge of the concrete slab. Position the second barrel over the back side of the top rim of the first barrel. It will hang over in the back approximately 8 inches.
-
Drill a 1-inch hole near the top rim and in the back of the first barrel for the tubing. Cut a 1-inch V in the front of the top rim of the second barrel. This is where the water will spill into the bottom barrel.
-
Dig five holes, each 4 inches deep, with the post hole digger, between the pad and the home. Make a square with four posts in the corners and one in the middle. Drop the 4-by-4-inch posts into each hole and fill with Quikrete, according to manufacturer directions. Make sure the posts are as tall as the second barrel and check that they are level. Allow the Quikrete to dry, according to manufacturer directions.
-
Cut a 12-inch square of 3/4-inch plywood and place on top of the posts. Nail in place by nailing through the plywood two to three times into each post.
-
Line each barrel with the pond liner, staple it close to the top rim and trim off any excess. Poke a hole in the liner where the hole is located in the bottom barrel. Place silicone caulk around the hole to seal it from leakage.
-
Place the hand pump on the pedestal. Place the second barrel on top of the first, with the overhang or bulk of the second pump resting on the pedestal, in front of the pump. Adjust as necessary for stability. Make sure the V is in the front of the second barrel for the water to spill down into the first barrel.
-
Place the pump into the bottom barrel and thread the tubing through the hole and up through the bottom of the plywood. Drill the hole in the plywood at this point to ensure the hole is in the right spot.
-
Continue to thread the tubing up from the bottom of the hand pump and through the middle into the opening of the spout. Caulk the tubing to either the top or the bottom of the spout and trim off excess so it can't be seen. Allow everything to dry thoroughly. When dry, fill the bottom barrel with water turn the pump on and watch the water circulate. It may be necessary to add water as the pump circulates the water from the bottom barrel to the top barrel.