Things You Will Need
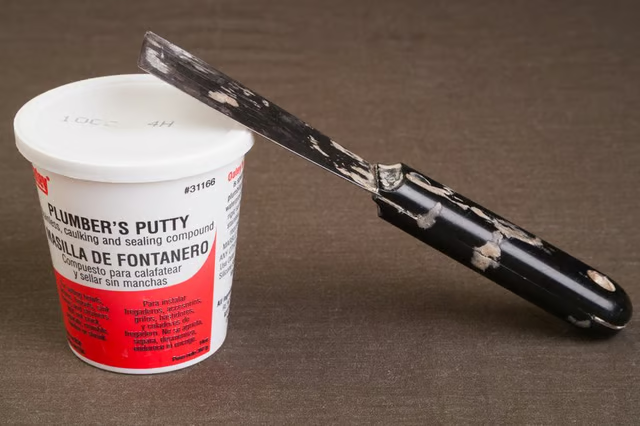
Plumber’s putty is moldable putty that seals plumbing components to avoid water leaks. A bathroom sink drain is commonly sealed with plumber’s putty. When properly used, the plumber’s putty will provide a watertight seal that will remain leak-free for many years. Plumber’s putty comes in either oil or water based. Water-based putties are designed to be used on sink materials that would stain with oil-based plumber’s putty. If you are unsure of the composition of your sink, it is best to use the water-based putty to avoid unwanted staining.
-
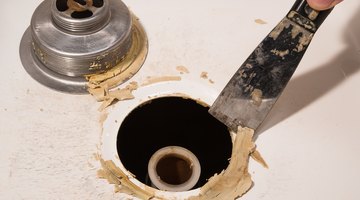
Clean the recessed area of the kitchen sink with the putty knife to remove any large debris that will interfere with the application of the plumber’s putty.
-
Spray the ammonia-based household cleaner around the base of the sink, and let the cleaner soak for one minute.
-
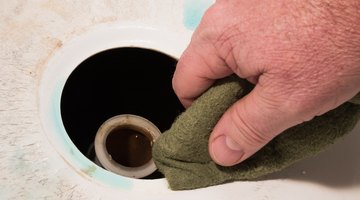
Wipe down the recessed area of the sink with a clean rag. Use additional rags if necessary to ensure that the bottom of the sink is completely dry.
-
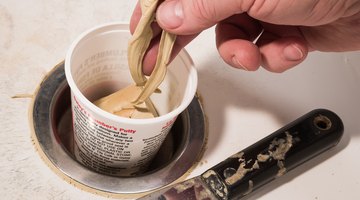
Remove a piece of plumber’s putty the size of a quarter from its container, and roll the plumber’s putty between your hands to form a rope that is 1/4 inch in diameter and roughly 5 inches long.
-
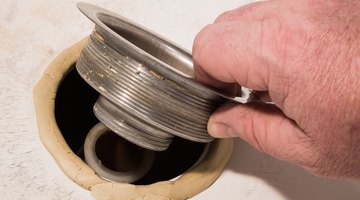
Press the plumber’s putty rope around the drain basin opening located in the bottom of the sink. When you have formed a circle of plumber’s putty, remove the excess rope that extends beyond the point that you started laying the plumber’s putty rope.
-
Slide the sink drain into the plumber’s putty surrounded opening in the bottom of the sink, and install the sink drain as specified by the drain manufacturer. Tighten the sink drain with the pipe wrench to seat the sink drain in the sink.
-
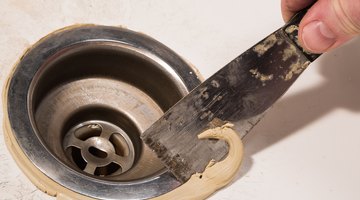
Run the 2-inch wide putty knife around the edge of the sink drain to cut the plumber’s putty that squeezed from underneath the sink drain.
-
Place the excess plumber’s putty back into the putty container to use later.
-
Fill the bathroom sink with water after you connect the sink drain plumbing to the house plumbing to check the sink drain for water leaks. If you notice a leak, remove the sink drain, scrape the plumber’s putty from the sink drain, and reapply the plumber’s putty as described in the previous steps.