

-
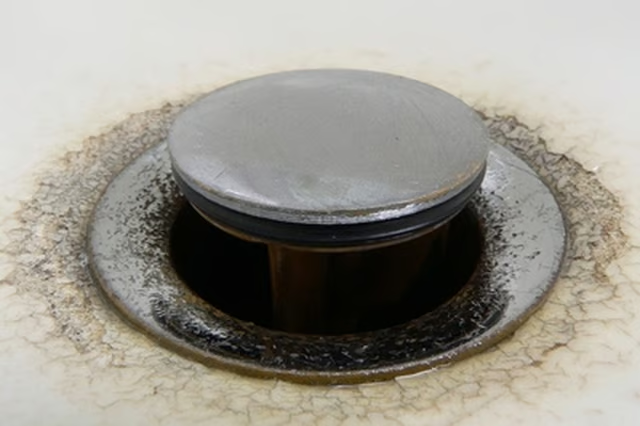
Clean out the sink after removing the old drain, if applicable. Separate the Kohler sink drain parts from each other.
-
Apply plumber's putty to the bottom of the section that fits on top. Place a small amount of the putty in your hand and roll it back and forth to form a "rope" long enough to fit around the drain top.
-
Press the putty firmly against the bottom side of the drain top. Thread the bottom nut over the drain and turn it a few times.
-
Slip the bottom section of the drain up through the bottom of the sink and thread the top section onto it from inside the sink bowl. Tighten the top section and the bottom section at the same time until the drain fits snuggly against the sink bowl. The plumber's putty will squeeze out from under the top section but will make a good seal.
-
Clean up as much of the putty as you can with your fingers and return it to the container. Connect the drain pipes according to the manufacturer's instructions. Check for leaks.
Articles
View All Hover to load posts
Articles
View All Hover to load posts
Articles
View All Hover to load posts
Articles
View All Hover to load posts
Articles
View All Hover to load posts
Articles
View All Hover to load posts
Articles
View All Hover to load posts
Articles
View All Hover to load posts
Articles
View All Hover to load posts
