How to Remove Sink Drain Flange
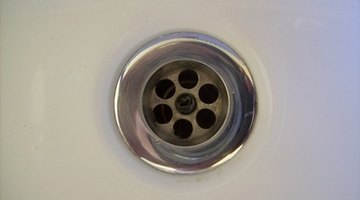
The sink drain flange is the (usually) metal part of the drain visible in the bottom of your sink. This flange is connected underneath the sink to a straight piece of plumbing called the tailpiece. If your sink has a pop-up stopper, it is connected to this tailpiece. After the tailpiece comes a curved portion of pipe called the P-trap. You'll need to take out both the tailpiece and the P-trap if you want to remove the sink drain flange for repairs or replacement.

-
Remove the stopper, if the sink has one, so you can access the flange. Extend the stopper to the open position and try to pull it out of the drain. If it doesn't budge, that's because it's fastened at the bottom to the drain lever.
-
Position yourself underneath the sink. Follow the drain lever to where it enters the tailpiece underneath the sink. You should see the lever go through a coupling on the back of the tailpiece. Unscrew the coupling (use pliers if it is hard to unscrew). Pull out the lever valve holding the pop-up stopper in place. Remove the stopper from the sink.
-
Place a bucket underneath the P-trap. Loosen the couplings on either side of the P-trap with a wrench and pull it out of position. Dump the water inside the P-trap into the bucket.
-
Unscrew the jamb nut located at the top of the tailpiece just underneath the drain flange. Slide this and the large rubber washer above it off the tailpiece.
-
Remove the tailpiece by turning it counterclockwise.
-
Place a block of wood underneath the drain flange. Tap this with a hammer to pop the flange out of the sink.
References
Writer Bio
Nathan McGinty started writing in 1995. He has a Bachelor of Science in communications from the University of Texas at Austin and a Master of Arts in international journalism from City University, London. He has worked in the technology industry for more than 20 years, in positions ranging from tech support to marketing.
Photo Credits
- down the drain image by pix29 from Fotolia.com
More Articles


