
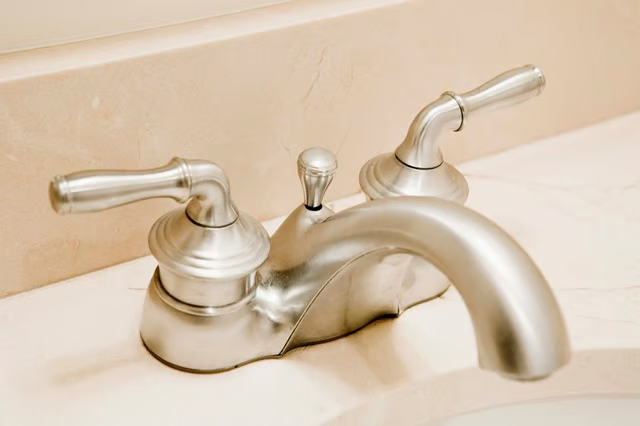
Things You Will Need
At the bottom end of the stem, a rubber stem washer creates a watertight seal between the stem and the valve opening, or valve seat, while an O-ring seals the metal parts inside the stem assembly. The most common repair for a stem faucet is replacing worn stem washers and O-rings.
-
Turn off the water supply to the faucet by closing the shutoff valves on the hot and cold water lines (look for football-shaped handles under the sink).
-
Remove the screw securing the handle to the stem of the faucet using a screwdriver; you may have to pry off a decorative cap on top of the handle to expose the screw. Pull off the handle from the stem. If it’s stuck, use a faucet handle puller (available at hardware stores) to remove the handle.
-
Loosen the retaining nut securing the stem to the faucet body using channel-type pliers. Unthread the nut from the faucet body and pull the nut and stem from the body (the stem should come off with the nut).
-
Inspect the bottom end of the stem. Some stems have a screw or nut that holds the stem washer in place; remove the screw or nut, then remove the stem washer. Other stems have a rubber diaphragm covering the bottom end of the stem; simply pop this off the stem to remove it.
-
Unthread the stem from the retaining nut (or outer part of the stem assembly) to expose the O-ring around the stem. Cut off the O-ring with a utility knife.
-
Use your finger to feel the valve seat inside the faucet body. If the seat surface is gouged or feels rough, you may be able to replace it with an exact replacement. Use a seat wrench to remove the old seat and install a new one. If you can’t replace the seat and the faucet still leaks after replacing the stem washer and O-ring (step 7), you may need to replace the faucet.
-
Fit a new O-ring and stem washer onto the stem, maintaining the same positions as the originals. Apply water- and heat-proof grease to the washer and O-ring. Thread the stem back into the retaining nut, then install the stem assembly into the faucet body and install the handle, reversing the disassembly process. Turn on the water supply at the shutoff valves and check the faucet operation.
Check out this related video from Homesteady on Youtube.