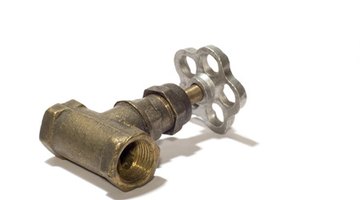
How to Repack a Water Shutoff Valve
Ironically, water shutoff valves can begin to leak due to lack of use. Over time, minerals in the water can cause deposits to build up on the valve’s internal neoprene O-rings (washers), causing them to lose their flexibility.

Things You Will Need
- Phillips head screwdriver
- Adjustable wrench
- Rubber O-rings
When the value is then turned--generally to make a plumbing repair--the O-rings can no longer create a watertight seal against the valve’s internal surfaces. A water shutoff valve can often be repaired by replacing the O-rings.
-
Turn off the main water supply.
-
Remove the valve shutoff handle with a Phillips head screwdriver.
-
Loosen the packing (retaining) nut with a wrench.
-
Remove the stem from the valve. Remove the old rubber O-rings from the valve stem. Clean the stem, then replace install the new O-rings.
-
Insert the stem back into the valve and replace the packing nut. Replace the valve shutoff handle.
-
Turn the main water supply back on. Check for leaks. If the valve still leaks you'll need to replace the entire unit.
Tip
It's not necessary to remove the entire valve assembly from the waterlines.
Warning
Be sure to install the correct sized O-rings, or the valve will not seal properly.
References
Resources
Tips
- It's not necessary to remove the entire valve assembly from the waterlines.
Warnings
- Be sure to install the correct sized O-rings, or the valve will not seal properly.
Photo Credits
- valve image by Aleksandr Ugorenkov from Fotolia.com
- valve image by Aleksandr Ugorenkov from Fotolia.com
More Articles


