


Things You Will Need
Following the manufacturer’s care and maintenance instructions, it should not take more than a couple of hours to clean-out a Kohler shower valve.
-
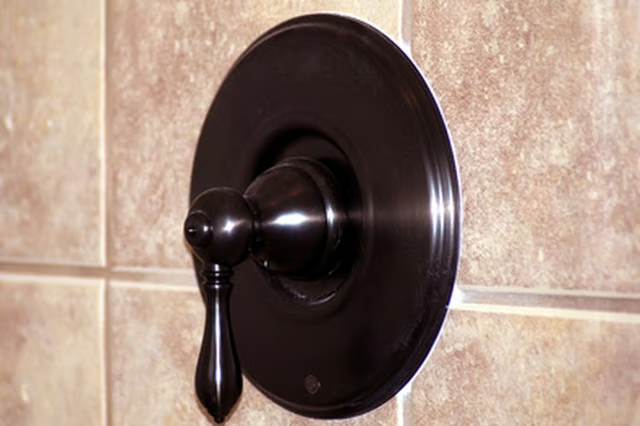
Remove the handle and faucet trim with a Phillips screwdriver.
-
Turn off the hot- and cold-water stops on both sides of the valve with a flat-tip screwdriver.
-
Unscrew the two collar bolts with a No. 3 Phillips screwdriver and then detach the metal collar.
-
Pull off the valve assembly by hand and remove the valve’s large O-ring seal.
-
Grasp the pressure-balancing unit inside the shower faucet’s body and remove it by hand. Make sure the two back O-ring seals come out with the valve unit. If not, remove them from the back of the faucet with needle-nose pliers.
-
Scrape out any mineral deposits with a scouring pad soaked in vinegar. Remove any remaining debris with a clean rag.
-
Reinsert the Kohler pressure-balancing unit by hand, making sure the two small rear O-rings stay in position. Position the two front balancing unit O-rings and the large valve seal O-ring in place.
-
Hold the main valve unit in place and slide the metal retaining collar over the valve. Start the two collar bolts by hand and tighten with the large Phillips screwdriver.
-
Turn the water stops back on and set the handle in place. Turn the faucet on and test the water temperature; adjust if necessary.
-
Replace the faucet’s trim and handle. Test for proper operation and for leaks.