


Things You Will Need
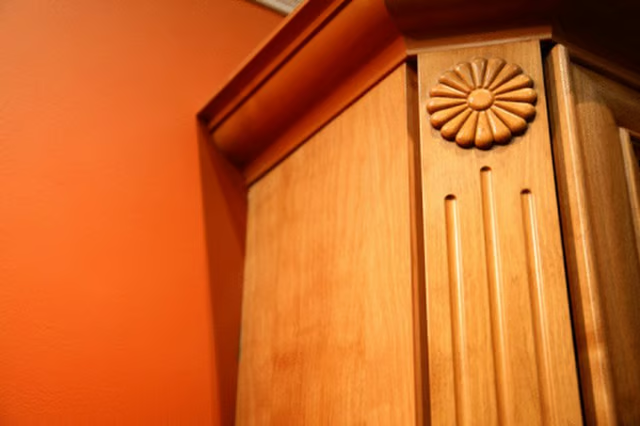
Round rosettes also can be attached to straight pieces of molding for purely decorative effect. You can finish rosettes to match the molding, or apply a different color if you want to create a focal point.
-
Position the square rosette on the corner joint of the window or door casing. Make sure it is flush with the edges of the casing. Mark the position with a pencil for later reference.
-
Apply wood glue to the back side of the rosette. Position the rosette against the casing, along the pencil marks.
-
Drive a finish nail through each corner of the rosette block. Position the nails approximately 3/8 inch from each corner.
-
Set the nail 1/16 inch below the surface of the rosette block using a nail set. Place the narrow end of the nail set over the head of the nail, then strike the other end with a hammer.
-
Apply wood putty to each nail hole with a putty knife. Fill the hole so that it is slightly raised, to allow for shrinkage as the putty dries. Allow the putty to dry completely.
-
Sand the putty with fine-grit sandpaper until it is flush with the surface of the wood. Rub the sandpaper in the direction of the wood grain.
-
Apply stain or paint to the rosette. Allow the finish to dry.