


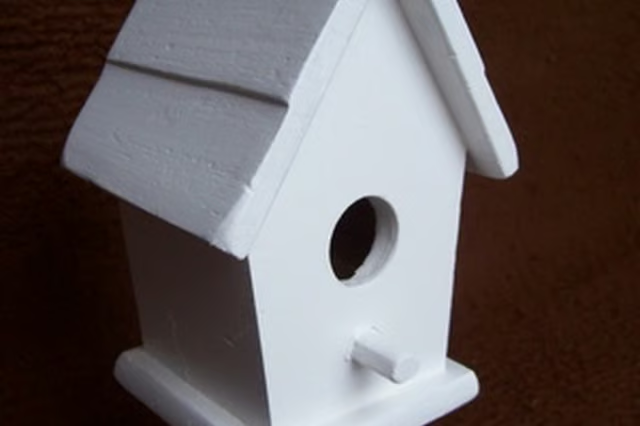
Use the appropriate tools and exterior-grade wood or plywood to complete your birdhouse project.
Measuring Tool
To execute your birdhouse building plans, you’ll need to take precise measurements. Even if you plan on creating your own custom, mostly improvised birdhouse, you’ll need the sides of your house to match up or the pieces won’t fit together when you reach the construction stage of the project. The type of measuring tool is unimportant; you can use metal, plastic or nylon measuring tape, or you could use a ruler; just make sure that the measurement denomination matches that of your birdhouse plans: for example, a measuring tape showing only metric increments won’t help you if your birdhouse plans are in inches and feet, also known as imperial measurements. A carpenter’s square is useful, too, for creating perfectly square corners.
Saws
To make your birdhouse, you’ll have to cut out several pieces of wood, a task that requires at least a handsaw. If you have other power tools handy, they will make quick work of your cutting needs: a table saw can make the few required cuts in minutes. If you want to make decorative scrolls on the top of your birdhouse, you’ll need to buy, rent or borrow a jigsaw, and if you want to add moldings or create a pitched roof, you’ll find the pieces join together nicely when their corners are cut with a miter box or miter saw.
Hammer
To create a sturdy structure for your birds’ outdoor home, you should join the pieces with nails instead of wood glue. Even if you plan on connecting most of your pieces with screws, some thinner pieces of wood will require small finish nails instead of wood screws. You can also use the hammer to tap a dowel into a pre-drilled hole to create a perch for your birdhouse.
Drill
Even if you are nailing your birdhouse pieces together and using no screws, you will still probably need a power drill and drill bits, including a paddle bit. The website Nature Skills recommends drilling several holes in the top of your birdhouse so that the wooden box has plenty of airflow during hot summer months, and drilling holes in the bottom to drain any trapped water. You should also use a drill and bit to create pilot holes for your nails before you connect the house’s pieces. Drilling pilot holes keeps the wood from splitting when you hammer or screw in a nail. Finally, the easiest way to create an entrance hole for your bird is to drill a large hole in the center of your house’s front piece using a paddle bit.
Check out this related video from Homesteady on Youtube.