How Do I Repair Dryvit?
A Dryvit exterior insulation and finishing system requires regular maintenance. Aside from maintenance, damage can occur due to extreme weather elements and vandalism.

Minor Damage
The Dryvit Rapid Patch product can be used for damages smaller than 3 inches by 3 inches. Remove any loose damaged foam to reveal fresh foam; do not cut down to substrate. Damages that are deeper than 1 inch should be filled with a piece of expanded polystyrene foam, also known as EPS, leaving no more than a 1-inch-deep area to be patched. Follow the instructions on the product to complete the repair.
Impact Damage
Damage due to impact requires removal of the damaged area, down to the substrate. The area removed should be uniform and slightly larger than the damaged area. Do not damage the reinforcing mesh when cutting the area to be removed with a grinder. EPS is then adhered to the substrate with the proper adhesive. Apply a non-cementitious base coat and mesh into the space to 1/16 inch from the surface. Let it dry for 24 hours. Apply finish product, and texture it to match the surrounding area.
Corner Damage
Corner damage can be a bit tricky to repair, and you will need to cut out the damaged corner down to the substrate. When you install new insulation board, be sure to use the proper adhesive. To finish, just add base coat and corner mesh. Getting it to blend and match the rest of the corner will take attention to detail for a seamless repair.
The Drip Cap
- A Dryvit exterior insulation and finishing system requires regular maintenance.
- The Dryvit Rapid Patch product can be used for damages smaller than 3 inches by 3 inches.
- Follow the instructions on the product to complete the repair.
- Damage due to impact requires removal of the damaged area, down to the substrate.
References
Photo Credits
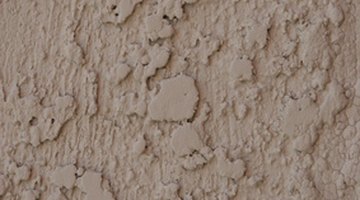
- stucco texture image by MAXFX from Fotolia.com
- stucco texture image by MAXFX from Fotolia.com
More Articles


