


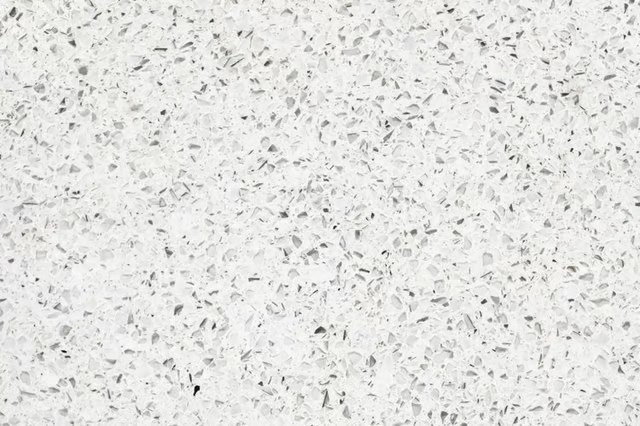
You can repair minor cracks and chips at home with a cyanoacrylate adhesive -- a superglue. If a Silestone crack is severe or deep, though, it may require professional attention.
Things You Will Need
-
Clean the area surrounding the crack thoroughly by spraying on an ammonia-based glass cleaner. Wipe the cleaner away with a soft cloth, such as microfiber. Clean the area again if it is excessively dirty. Allow the counter to dry completely, especially the area within the crack.
-
Apply a thin line of a cyanoacrylate-based adhesive into the depth of the crack, using just enough to fill the hole until it is level with the surrounding area. If you're concerned about getting the glue on other areas of the countertop, apply strips of painter's tape to the area around the crack before applying the adhesive. Allow the adhesive to cure for at least 24 hours.
-
Remove the painter's tape, if you used any. Hold a razor blade or utility knife at a slight angle to the countertop and carefully slide it over the repair to remove excess adhesive. Feel the repaired area, and if the glue is higher than the counterop, slide the blade over the area again, as needed, until the repair is flush with the surrounding area.
-
Sand the repaired area gently with a very fine sandpaper to buff it. Wipe the dust away with a soft cloth. The repair should be almost invisible.
The Drip Cap
- Silestone is a brand name of a quartz composite material noted for its durability.
- Apply a thin line of a cyanoacrylate-based adhesive into the depth of the crack, using just enough to fill the hole until it is level with the surrounding area.
- Remove the painter's tape, if you used any.
- Feel the repaired area, and if the glue is higher than the counterop, slide the blade over the area again, as needed, until the repair is flush with the surrounding area.