


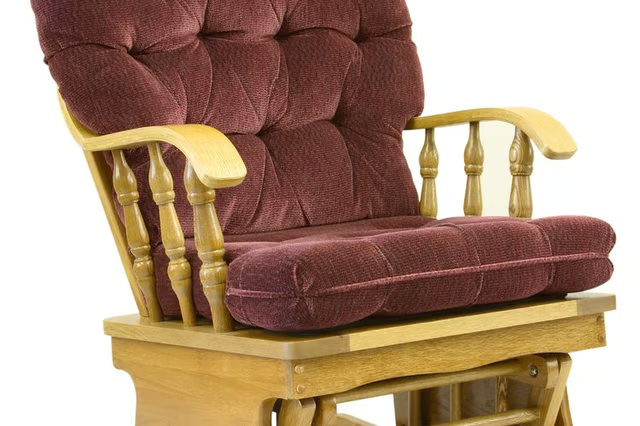
When this happens the defective bearings impair the glider’s rocking action and cause a grinding squeaking noise during movement. However, with a few simple tools you can replace the worn rocker bearings yourself.
Things You Will Need
-
Invert the glider rocker and place it on a folded blanket. Level the upward facing base as much as possible by placing a suitable spacer -- such as a coffee table or a pair of stools -- between the arms and the floor.
-
Remove the four nuts securing the bearing assembly mounting bolts and washers to the inner faces of the upper rocker arms, using a 3/8 inch socket or box wrench. Repeat by undoing the rocker arms nuts from the base pivot points.
-
Separate the chair assembly from the base by sliding each rocker base arm off the upper and lower rocker arm bearing assembly mounting bolts.
-
Remove the three screws securing the flat bearing retaining rings to the rocker arms with a Phillips head screwdriver. Grip the threaded end of the bearing assembly mounting bolts with pliers. Rock the bolts gently from side-to-side and pull the old bearing assemblies out of the recesses in both ends of the rocker arms.
-
Insert new bearings into the recesses on both ends of the rocker arms. Slide new bearing retaining rings over the mounting bolts and secure each retaining ring to the rocker arms with the screws removed earlier.
-
Place one of the washers provided in the bearing assembly kit over the bearing mounting bolts and insert the bolts into their respective holes in the loose rocker base arms.
-
Position a second washer over the threads protruding through the rocker base arms. Dab a small amount of thread sealant on the threads, install the nuts and tighten them securely with the 3/8 inch wrench.
-
Repeat by attaching the lower ends of the rocker arms to the inner glider base the same way. Stand the glider rocker upright, take a seat and test the action by rocking back and forth.
The Drip Cap
- There are four rocker arms separating the inner base of your glider rocker from the outer chair assembly.
- When this happens the defective bearings impair the glider’s rocking action and cause a grinding squeaking noise during movement.
- Repeat by undoing the rocker arms nuts from the base pivot points.
- Remove the three screws securing the flat bearing retaining rings to the rocker arms with a Phillips head screwdriver.