How to Replace Chair Glides
If your chairs have worn or missing chair glides, you risk damaging your floor each time you sit down. Chair glides attach to the bottoms of chair legs. They typically look like oversized thumbtacks with a smooth plastic head and a long, nail-end stem. Some have protective felt pads over the plastic. In some, the stem is a screw or metal ferrule instead of a nail. Whichever style your chair has, replace them regularly to protect your flooring from scratches, chips and snags.
Tap-In Chair Glides for Wooden Chair Legs

-
Turn your chair upside down. Rest the upside-down top of the chair on a folded towel or blanket to protect it from dirt and damage.
-
Wedge a flathead screwdriver between the chair glide and the bottom of the chair leg. Pry the glide up just far enough to grasp it with a pair of pliers. Pull the glide straight out to avoid enlarging the hole; don't wiggle it back and forth.
-
Insert the nail-end tip of the new chair glide in the preexisting hole, or position the ferrule tip against the bottom of the leg. Cover the flat, round head of the glide with a folded washcloth or potholder. Tap the glide into the chair leg with a hammer. Repeat with the other three legs.
Screw-In Chair Glides for Metal Chair Legs
-
Turn the chair over with the legs pointing up. Lay the top of the chair on a folded towel or blanket.
-
Grasp the head of the old chair glide with a pair of pliers. Turn the head counterclockwise until you can hold it with your fingers. Unscrew the old glide until it falls free of the chair leg.
-
Insert the new screw-in chair glide into the threaded metal hole on the bottom of the chair leg. Turn the chair glide clockwise, with your fingers, until the head rests against the bottom of the chair leg. Repeat with the other chair legs.
References
- Wayne Shielly; Bartlett Home Furnishings; Memphis, Tennessee
Resources
Tips
- Take one of the old chair glides when you shop for the new ones. Choose nail-end chair glide stems of the same size or larger than the old ones. Screw-in chair glides stems must be the exact same size as the old ones.
- If your new nail-end chair glide stems are too loose in the old holes, squirt some wood filler in the holes to tighten them.
Warnings
- Don't over-tighten screw-in chair glides. You could strip the threaded holes.
Writer Bio
Leah James has been a full-time freelance writer and editor since 2008. With more than a decade of experience in interior decorating, she frequently writes about home design. She studied English literature at Lyon College.
Photo Credits
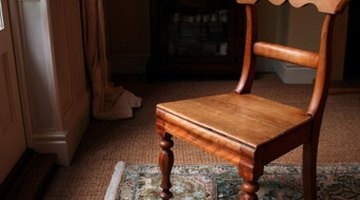
- chair image by hazel proudlove from Fotolia.com
More Articles


