


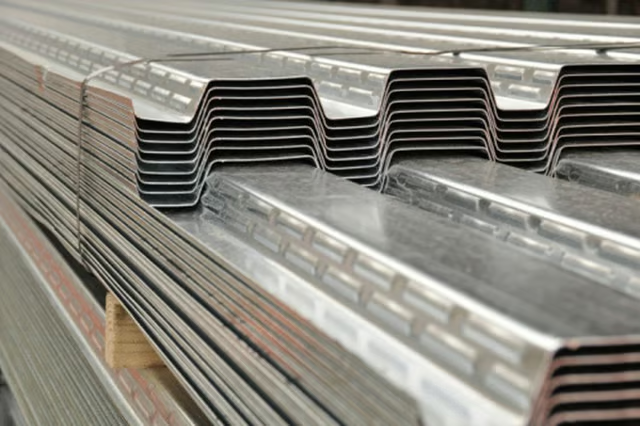
Decorate a bathroom, bedroom, feature wall or hallway by using metal for a wall border or a half-wall under a chair rail. Highlight a television wall or the interior of a bookcase or hutch. Corrugated metal comes in 42-inch-wide panels in 18, 20, 22 and 24 gauge weights, and narrower but longer widths in lighter gauges. It may be sold in colors, too.
Things You Will Need
-
Measure the area where the corrugated metal is to be placed. For example, when remodeling kitchen cabinets or a wall, measure the length and width of the area. Write down the measurements.
-
Measure out the dimensions on the corrugated metal and mark the area to be cut.
-
Place the metal on a set of sawhorses or a work table.
-
Cut the metal with electric shears or a saw.
-
Attach J-channel with screws and the drill to the top and bottom of the wall or surface where the square or rectangular-shaped corrugated panel is to be installed. If you are making a shaped border on the top of the corrugated metal piece, use J-channel for the bottom only.
-
Slide the metal piece into the J-channel openings.
-
Locate the center of the metal piece. Insert three equally spaced screws with the drill to attach it directly to the wall. It is best to sink the screws into wall studs. Add more screws as needed.
The Drip Cap
- Corrugated metal is a utilitarian material that can be used in home decorating.
- Decorate a bathroom, bedroom, feature wall or hallway by using metal for a wall border or a half-wall under a chair rail.
- Highlight a television wall or the interior of a bookcase or hutch.
- Slide the metal piece into the J-channel openings.
- Add more screws as needed.