


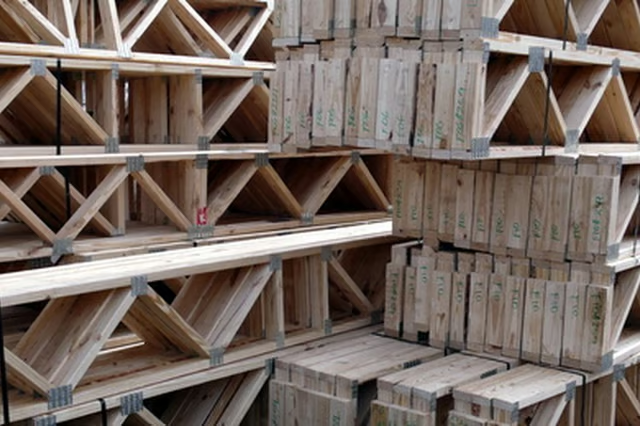
However, several aspects of building, such as weight and the span that needs the truss determine their construction. Raised Floor Living, in conjunction with Southern Forest Products Association developed a table to help understand how trusses are built.
Things You Will Need
-
Lay the two pieces of 2-by-4-by-144-inch lumber on a worktable. Measure from one end of the lumber and make marks every 16-inches. Make marks 3/4-inch to the left and the right of the 16-inch marks.
-
Place the framing square on the marks on either side of the 16-inch marks and draw lines across the lumber. The space between the lines indicates the placement of the vertical pieces, or lateral braces, of the truss. Separate the 144-inch pieces about 6-inches. Stand them on one of their 1 1/2-inch edges so the lines are facing each other.
-
Set one of the 2-by-4-by-6 1/4-inch pieces between the 144-inch pieces on either end. Secure the 6 1/4-inch piece to the 144-inch pieces with the box nails.
-
Put the remaining 6 1/4-inch pieces between the lines drawn on the 144-inch pieces. Secure them with the box nails. Lay the truss on the table so the 1 1/2-inch edges are facing up.
-
Set the electric miter saw on a 30-degree angle. This angle may vary a little depending on the actual placement of the pieces of the truss. Put the 3 1/2-inch side of a 2-by-4-by-96-inch piece against the fence of the electric miter saw and cut the end of it at the angle. Place the long point of the miter against the 6 1/4-inch lateral brace where it meets one of the 144-inch pieces.
-
Adjust the other end of the 2-by-4-by-96-inch piece so the top of it sits on the corner created by the lateral brace on the end of the truss and the 144-inch piece, or chord, of the truss. Mark the stud where it meets that corner. Set the 3 1/2-inch edge against the fence of the miter saw and cut the angle. This is the web of the truss.
-
Check for a good fit and adjust the angle if necessary. Place it in the truss and secure it at both ends with the truss plates and a hammer. Repeat this for each space between the lateral braces. Turn the truss over and secure that side of the web pieces with the truss plates.
The Drip Cap
- One of the most common support systems for floors in houses and commercial buildings is the open-web truss system.
- Secure the 6 1/4-inch piece to the 144-inch pieces with the box nails.
- Lay the truss on the table so the 1 1/2-inch edges are facing up.
- This angle may vary a little depending on the actual placement of the pieces of the truss.
- Place the long point of the miter against the 6 1/4-inch lateral brace where it meets one of the 144-inch pieces.
- Turn the truss over and secure that side of the web pieces with the truss plates.