


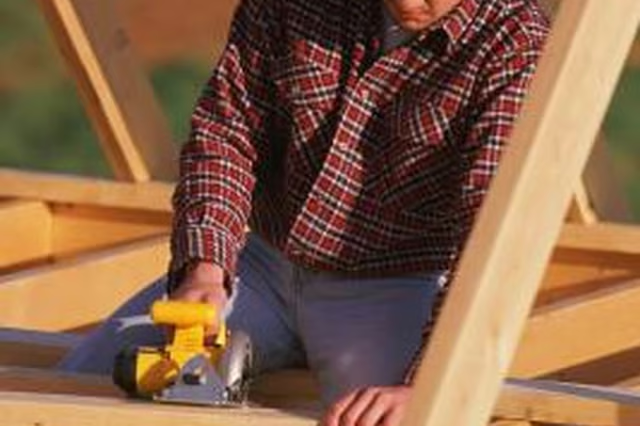
Step 1
Measure the width of the greenhouse with a tape measure and record the measurement with a pencil and paper. This measurement determines the width of the truss that runs the width of the roof. Three 2-by-4s will connect together to form the truss. This complete piece attaches to the top of the greenhouse.
Step 2
Measure and mark the first 2-by-4 for the width measurement and line it up with the blade of a circular saw. Press down on the trigger of the circular saw and cut carefully along the line on the 2-by-4. Measure the piece to verify the proper cut was made.
Step 3
Determine the height and angle of the greenhouse roof. Refer to the blueprints of the greenhouse for this measurement. Cut the next two trusses at a 45 degree angle. Cut one in each direction so they can butt together at the top of the roof. Draw a 45 degree angle on each board with a pencil and protractor and cut along the line with a hand saw.
Step 4
Press the two cut pieces together at the 45 degree angle and attach them together with a mending plate. Position the mending plate over both sides of the 2-by-4s equally and hammer it in place to secure the two pieces together.
Step 5
Line up the 2-by-4 you cut for the width at the bottom and attach it on both sides with a mending plate in the exact same manner. Hold up one end of the truss while a helper holds the other and set it on top of the roof with the pieces cut at an angle facing up. Attach it to the frame of the house with sheet metal screws and a power drill. Measure down 16 inches and repeat the same process for the next truss.