How to Install a Truss Plate
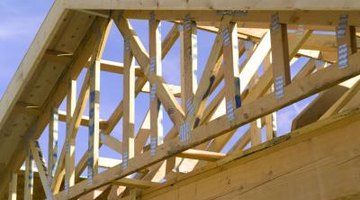
A truss plate is made of metal or plywood and is used to hold the connecting boards in the truss together. You can purchase metal truss plates from your local hardware supply store or you can build your own. To build your own truss plate, cut a 1/4-inch piece of plywood to fit each connection so it covers at least 1 foot of each member. The truss plate is then nailed in place using 6d nails. Trusses should have truss plates at all connections on the front and back of the truss for stability.

Step 1
Arrange the truss members on the ground. Measure plywood for the truss plates with the 16- foot steel tape and cut them out with the circular saw. The dimension of the plates depend on the size of the truss, but usually consist of 4 12-inch by 12-inch square plates for the top, bottom and sides and rectangular 12-inch by 4-inch or 6-inch plates depending on building materials used.
Step 2
Lay the plywood truss plates at the connection of each truss. Arrange the truss plates to cover as much of each connecting member as possible.
Step 3
Hammer the truss plates into place with five 6 d nails on each connecting member.
Step 4
Repeat the procedure for all connections on one side of the truss.
Step 5
Flip the truss over and repeat Steps 1 to 3.
References
Writer Bio
Jeannine Lowe is a business technology teacher at McKenzie High School in Tennessee. She has been writing on business and marketing topics since 2007. Lowe obtained her Master of Science in education through Walden University, specializing in integrating technology into the classroom.
Photo Credits
- Brand X Pictures/Brand X Pictures/Getty Images
More Articles


