
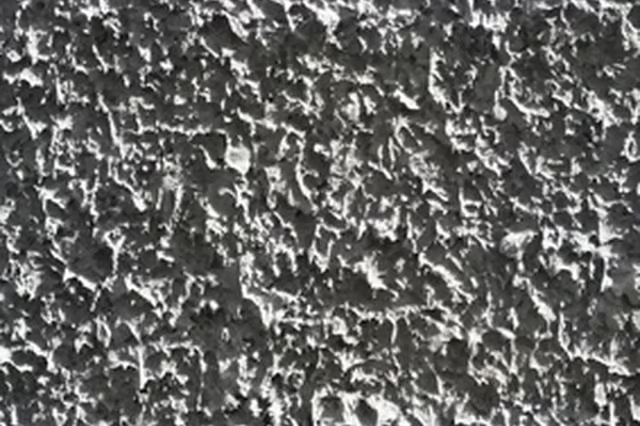


Neither of these options should be considered until you first sand the walls smooth. Paint and stain will look only as good as the surface they cover.
Things You Will Need
-
Fill a bucket with water and 1 tbsp. of dish soap. Dip a sponge into the mixture, wring most of the water out and scrub the concrete. Rinse the sponge with clean water and wipe the walls again.
-
Cover the vents and doorways with plastic sheeting to prevent dust from entering the rest of the house.
-
Put on protective goggles and gloves. Attach a coarse-grit diamond sanding pad to the orbital sander.
-
Turn on the grinder and press firmly into the concrete. Move the sander in back-and-forth and up-and-down motions. Polish the entire wall.
-
Switch to a less coarse sanding pad. Sand the entire wall again. The texture of the wall should begin to smooth. Switch one more time to a finer grit pad and sand again.
-
Fill a pump sprayer with concrete hardener. Spray the wall in a back-and-forth motion. Overlap slightly with each pass of the sprayer. Let the hardener dry.
-
Attach your next finest grit diamond sanding pad to the orbital sander. Sand the wall again. Switch to progressively finer grit pads until the wall shines.
-
Vacuum the area thoroughly. Dampen a towel and wipe the walls to remove small dust particles.
The Drip Cap
- The walls of your basement are probably made of rough concrete.
- Finishing your rough concrete walls could involve painting them or applying a few coats of concrete stain.
- Dip a sponge into the mixture, wring most of the water out and scrub the concrete.
- Move the sander in back-and-forth and up-and-down motions.
- Switch one more time to a finer grit pad and sand again.