How to Test a Drill Charger
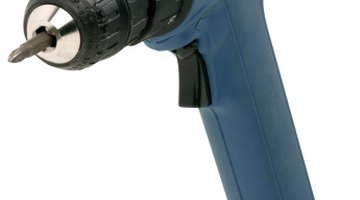
Designed with power voltage ratings from the lower single digits, cordless drills are available to handle virtually any project. Providing the flexibility to work free of electrical outlets, cordless tools are equipped with a rechargeable a battery pack and charger.

While chargers are generally reliable, they can short out, if they become damaged. If the battery to your cordless drill stops accepting a charge, you can test the charger with a standard multimeter.
Tip
Setting the meter to a lower voltage than what is indicated for the charger can damage the meter.
-
Determine the voltage rating of the battery charger. The voltage will be clearly marked on the charger, drill or battery.
-
Set the multimeter to the voltage setting that matches or exceeds the battery voltage rating. For example, if the battery for the drill has a 12 volt rating, set the meter to 12 volts. If the battery is rated at 19 volts set the meter to the next highest setting -- generally 24 volts.
-
Plug the charger into an electrical outlet. Touch the red positive probe of the meter to either of the metal contacts in the base of the charger. Touch the meter’s black negative probe to the remaining metal terminal in the base of the charger.
-
Read the meter. A properly functioning charger will produce a reading on the meter within a few tenths of a point of the voltage capacity of the battery. If the meter does not produce a reading, the charger is faulty.
The Drip Cap
- Designed with power voltage ratings from the lower single digits, cordless drills are available to handle virtually any project.
- If the battery to your cordless drill stops accepting a charge, you can test the charger with a standard multimeter.
- Touch the red positive probe of the meter to either of the metal contacts in the base of the charger.
References
- “Wiring 1-2-3”; Steve Corey; 2005
Resources
Photo Credits
- Brand X Pictures/Brand X Pictures/Getty Images
- Brand X Pictures/Brand X Pictures/Getty Images
More Articles


