

-
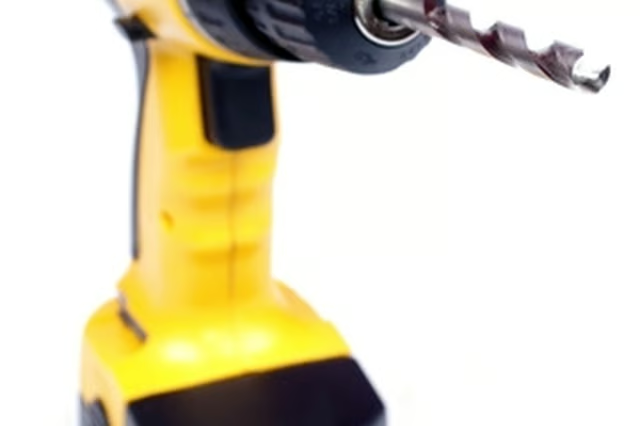
Press the battery locking latches on both sides of the battery. Slide the battery locking mechanism on the bottom backside of the drill to release the battery from the base of the Black & Decker cordless drill. The removal process slightly varies based on the model of Black & Decker drill owned.
-
Slide the battery charger onto the top of the battery. It should be securely connected to the battery.
-
Plug the battery charger into a working electrical outlet. Allow the battery to charge for nine hours prior to the first use and three to six hours thereafter.
-
Locate the charging battery light on the battery charger. When charging, the light will be red. Once the charging cycle is complete, the battery will not go out or change color. It will continue to stay red.
-
Listen to the battery and charger for a light humming sound. When the battery is charging, you will hear it make a quiet humming sound.
-
Feel the battery after it has been charging for at least an hour. While charging, the battery will feel warm. If the battery feels cool, it is likely not receiving power or being charged.
Articles
View All Hover to load posts
Articles
View All Hover to load posts
Articles
View All Hover to load posts
Articles
View All Hover to load posts
Articles
View All Hover to load posts
Articles
View All Hover to load posts
Articles
View All Hover to load posts
Articles
View All Hover to load posts
Articles
View All Hover to load posts
