


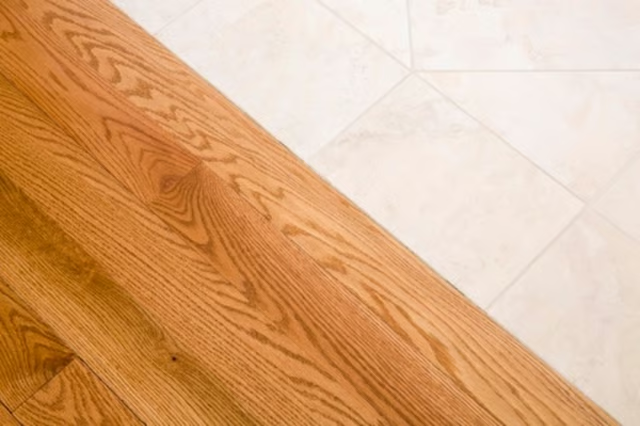
LevelQuik fills in imperfections and corrects uneven areas on materials such as concrete, backerboard, sheet vinyl and plywood. Once cured, the LevelQuik surface is suitable for installation of wood, wood laminates, parquet, carpet, brick, terrazzo, stone, ceramic tile and sheet vinyl.
Prepare
Achieve a strong bond by thoroughly cleaning the flooring substrate surface prior to applying LevelQuik products. The surface must be completely dry and have no structural issues. Concrete substrates should be fully cured and free of waterproofing sealers. Remove adhesive from concrete surfaces to strengthen the bond of the product. Sand slick concrete and polished stone surfaces. Remove the finish from vinyl sheet flooring before applying.
Plywood substrates require installation of self-furred plastic or metal lath to comply with American National Standards Institute guidelines. Installing lath over plywood prior to LevelQuik application will add structural stability to the finished floor. Overlap or create butt joints when installing the lath using staples or roofing nails to it secure in place.
Prime
The manufacturer recommends applying its latex primer to the entire surface before pouring the LevelQuik underlayment. Apply the primer to the floor using a roller with a smooth nap for larger areas or a paintbrush in small spaces. The thin primer coating will dry clear within 2 hours.
Mix
Empty the entire 50 lb. bag of LevelQuik powder into a container and add 6 1/2 qt. of cool, clean water. Using a heavy duty electric drill fitted with a mixing paddle, combine for 2 minutes until completely smooth.
Apply
Pour or pump the mixture onto the floor surface and distribute evenly with a concrete spreading tool. Within 20 minutes, the mixture will self-level. Perform touch ups and feathering with a concrete smoother. Each layer of mixture should not exceed 1 inch in thickness. Before applying a second layer, make sure the LevelQuik has dried enough to support walking weight. Each layer can dry for up to twelve hours without reapplying primer. A 50 lb. bag of LevelQuik poured at 1/8 inch thickness will cover 50 sq. ft. of surface area.
Cure
Allow extended setting LevelQuik to dry overnight before installing decorative flooring. Rapid setting LevelQuick cures within 4 hours when applied to tile and stone surfaces. Applications on non-penetrable substrates require 14 hours to completely cure. Ambient humidity and temperature can affect drying times. When applying wood, wood laminate or vinyl flooring, test the LevelQuick surface for moisture prior to installation.
Clean and Store
Clean all tools and areas of splash up with water immediately after use. Store unopened LevelQuik in a cool, dry place for up to 6 months from the date of purchase.
The Drip Cap
- LevelQuik masonry underlayment products prepare flooring substrates for the installation of a variety of finished flooring applications.
- The self-leveling mix comes in extended set and rapid set formulations to accommodate any project time frame.
- Concrete substrates should be fully cured and free of waterproofing sealers.
- Sand slick concrete and polished stone surfaces.
- Apply the primer to the floor using a roller with a smooth nap for larger areas or a paintbrush in small spaces.
- bag of LevelQuik powder into a container and add 6 1/2 qt.
- When applying wood, wood laminate or vinyl flooring, test the LevelQuick surface for moisture prior to installation.