How to Remove Bostik Glue
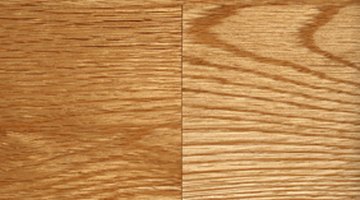
Bostik Best Glue is one of the most used adhesives for hardwood flooring on the market today. This super strong glue is one of few that has an installation warranty, when used in combination with Mirage engineered wood flooring.

While Bostik is more than capable of holding your flooring in place, it can be a bit more difficult to remove from unwanted areas, especially after it has cured. The best way to remove Bostik glue is to remove it as you proceed through the installation process.
Things You Will Need
- Mineral spirits or Bostik adhesive remover
- 2 clean cloths
-
Apply a liberal amount of mineral spirits to a soft, clean cloth. Bostik also manufactures their own brand of adhesive remover that is specifically designed to remove the glue.
-
Wipe the area that has the excess glue as soon as you notice it. The longer you wait, the harder it will be to get off.
-
Use another clean cloth to remove any mineral spirits residue or leftover adhesive remover. Leaving these products on your hardwood floor could damage the finish.
-
Scrub the area harder with a cloth, if the glue has cured. If you used the glue on a tile floor, you can be more liberal with your cleaning agents, because you don't have to worry about ruining the finish.
The Drip Cap
- Bostik Best Glue is one of the most used adhesives for hardwood flooring on the market today.
- While Bostik is more than capable of holding your flooring in place, it can be a bit more difficult to remove from unwanted areas, especially after it has cured.
- Apply a liberal amount of mineral spirits to a soft, clean cloth.
References
Writer Bio
Elyse James began writing professionally in 2006 after deciding to pursue a career in journalism. She has written for "The Algonquin Times" as a general assignment reporter and published blogs and articles on Webcitybeat. James holds a Bachelor of Journalism from the University of Ottawa.
Photo Credits
- hardwood floor texture image by GoodMood Photo from Fotolia.com
- hardwood floor texture image by GoodMood Photo from Fotolia.com
More Articles


