


Today, building codes dictate that polybutylene pipes not be installed in homes. Repairing a pipe of this type requires cutting out the broken section and replacing it with CPVC. The pipes are joined together with adaptor couplings.
Things You Will Need
-
Close the home's main water shut-off valve. Open the lowest faucet in the house to drain all pipes.
-
Mark the broken Quest water pipe. Measure 4 inches from both sides of the broken area and make marks. Cut through the pipe at both marks with a tube cutter and remove the broken section of pipe.
-
Measure between the two cut pipe ends. Cut a section of CPVC pipe to this length. Unthread the end nuts from the ends of two adaptor couplings, then remove the steel crimp fittings and acetal compression sleeves (found between the coupling body and end nuts).
-
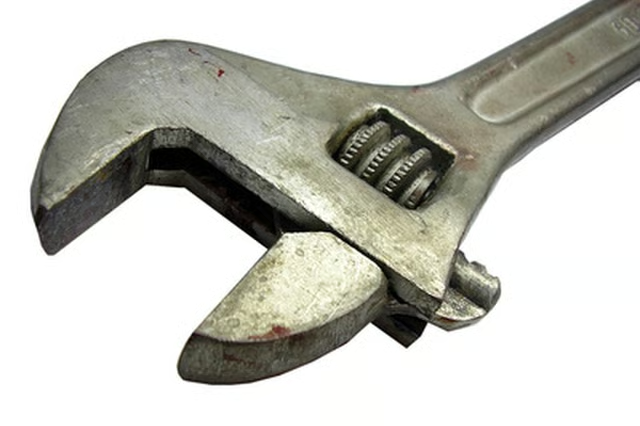
Push a nut onto the ends of both cut Quest pipes. Place nuts on both ends of the CPVC pipe section as well. Slide a crimp fitting and compression sleeve onto the end of all pipes. Push one coupling body onto the end of both Quest pipes, and tighten the nuts surrounding the Quest pipes to the coupling bodies, by hand. Squeeze the ends of the CPVC pipe section into the remaining ends of the coupling bodies and tighten the nuts surrounding the CPVC pipe to the coupling bodies. Tighten all four end nuts to the coupling bodies using a crescent wrench.
-
Turn the water back on. Check for any leaks.
The Drip Cap
- Quest (polybutylene) water pipes are made of plastic resin and were commonly used in water supply lines in homes from 1978 to as recently as 1995.
- Push a nut onto the ends of both cut Quest pipes.
- Push one coupling body onto the end of both Quest pipes, and tighten the nuts surrounding the Quest pipes to the coupling bodies, by hand.