-
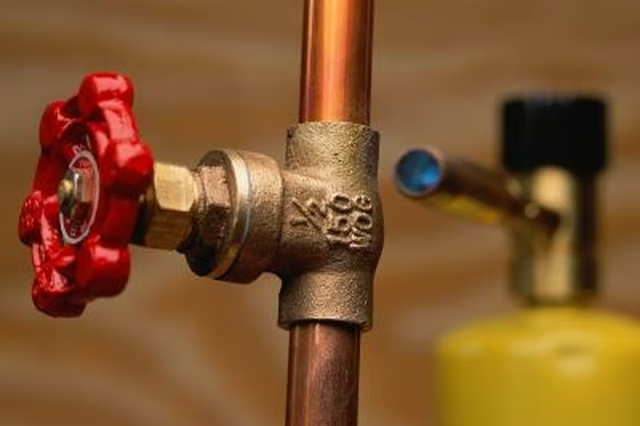
Turn off the water shutoff valve in your home.
-
Turn on a faucet on the first floor of your home to drain the remaining water in the pipes.
-
Cut through the copper pipe with a hacksaw 3 inches above and 3 inches below the cracked section.
-
Remove the cracked section of the copper pipe.
-
Clean the edges of the exposed copper pipes with a piece of 120-grit sandpaper. Clean the edges of the replacement copper fitting.
-
Brush flux onto the edges of the replacement fitting and existing pipe -- everywhere the replacement copper piping and existing copper pipe will join.
-
Fit the copper replacement pipe over the two ends of the existing pipe.
-
Protect your eyes with a pair of safety glasses.
-
Light the propane torch and hold it approximately 3 inches away from the fitting until the flux begins to bubble.
-
Touch the solder to the joint where the new fitting and existing pipe meet opposite the flame. Pull away the flame and solder will wrap around the joint as it is drawn to the heat.
-
Wipe up the excess solder from around the joints with a rag.
-
Turn the water shutoff valve back on to restore water to the lines of the house.
Articles
View All Hover to load posts
Articles
View All Hover to load posts
Articles
View All Hover to load posts
Articles
View All Hover to load posts
Articles
View All Hover to load posts
Articles
View All Hover to load posts
Articles
View All Hover to load posts
Articles
View All Hover to load posts
Articles
View All Hover to load posts
