


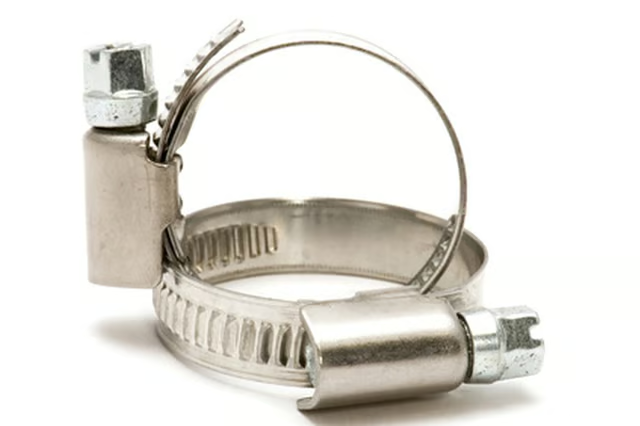
The components that make up the worm drive clamp are a slotted band, a screw housing and the worm gear or helical-threaded screw that meshes with the slots in the band. The do-it yourself enthusiast can install a worm gear hose clamp in five minutes using a flat-head screwdriver and/or a 5/16-inch nut driver.
Things You Will Need
-
Select the proper size worm gear hose clamp for installation. Match the type and size of the clamp to the diameter of the hose to be secured.
-
Open the worm gear hose clamp by turning the head of the worm gear screw counterclockwise. Use the screwdriver or a 5/16-inch nut driver until the worm gear screw threads are free from the slotted band.
-
Open the band by pulling it outward from the worm gear screw housing to the extent needed to fit around the hose.
-
Place the worm gear hose clamp around the hose to be clamped with the worm gear screw head facing in the direction necessary for access to the head with tools.
-
Insert the band into the worm gear screw housing until it stops and holds it firmly in place.
-
Turn the head of the worm gear screw clockwise to tighten using the screwdriver or the 5/16-inch nut driver. The worm gear screw meshes with the slots in the band to draw it tighter around the hose as the worm gear screw is turned.
The Drip Cap
- Worm gear hose clamps are most frequently used when a clamp is needed to secure a hose while remaining connected to a fitting.
- Match the type and size of the clamp to the diameter of the hose to be secured.
- The worm gear screw meshes with the slots in the band to draw it tighter around the hose as the worm gear screw is turned.