


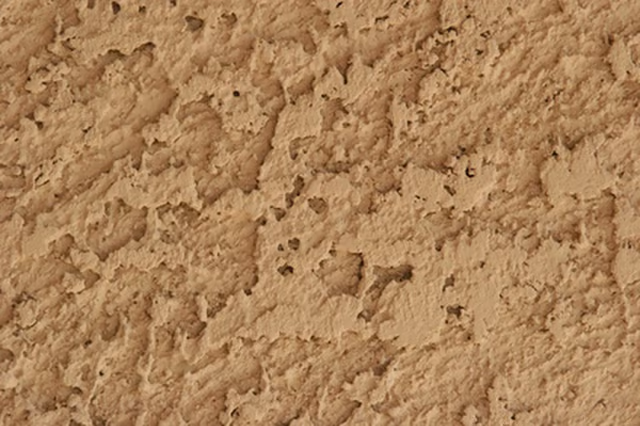
In addition, various synthetic stucco finishes are available, but they are less durable. Stucco is a finish, not a building material. It must be applied to a structurally sound wall made of concrete blocks, wood or other sturdy material. Building a stucco garden wall is a project that will take a couple of weekends and utilize many skills, from digging a trench to laying concrete block to applying a neat finish.
Things You Will Need
-
Pound small stakes into the ground to mark the ends of where your garden wall will be. Run a piece of string between the stakes, then mark the position of the wall with landscaper's spray paint. For a curved garden wall, use flexible PVC pipe to mark where you will spray.
-
Dig a trench about 18 inches deep and one foot wide, using your spray-painted line as a guide. Using a shovel, mix the concrete in the wheelbarrow according to the manufacturer's instructions. Pour the concrete into the trench. Smooth out the top of the concrete to make an even bed for the concrete blocks. Set two four-foot long pieces of rebar vertically into the cement at each end of the wall, to add structure. Allow the cement to cure according to the manufacturer's instructions.
-
Lay the first row of concrete blocks, troweling 1/2 inch of mortar onto the bottom of each block. Place the first block so that the rebar comes up through one of the openings in the block. Set the blocks as close together as possible and fill the gaps with mortar. Use a circular saw to cut the concrete blocks as necessary. Stagger the second course of concrete blocks over the first course. Check frequently to make sure the wall is straight, level and plumb. When you have reached the desired height, use mortar to fill in the holes in the top of the last course of block. Use your trowel to remove excess mortar from the joints.
-
Mix up a batch of stucco, following the manufacturer's instructions. Your work will be easier if you use a very shallow plastic or metal container to hold the stucco. Add the coloring material if you are using it, being careful to measure accurately and noting how much coloring you are using for each bag of cement, so you can match the color for the next batches. Trowel the stucco onto the wall in a layer about 3/8-inch thick. Trowel the first layer on the entire wall and let it dry.
-
Apply two more layers of stucco, following the instructions in Step 4. When you apply the final layer, you can use your trowel to create a design in the stucco or you can use a purchased texturing tool. Allow the final coat to dry, following the manufacturer's instructions, which may recommend that you keep the wall moist for a couple of days.
The Drip Cap
- The ancient Greeks and Romans were the first to use stucco, often as a surface on which to paint exquisite wall murals.
- Stucco is a finish, not a building material.
- Using a shovel, mix the concrete in the wheelbarrow according to the manufacturer's instructions.
- Pour the concrete into the trench.
- Set two four-foot long pieces of rebar vertically into the cement at each end of the wall, to add structure.
- Mix up a batch of stucco, following the manufacturer's instructions.
- Add the coloring material if you are using it, being careful to measure accurately and noting how much coloring you are using for each bag of cement, so you can match the color for the next batches.