


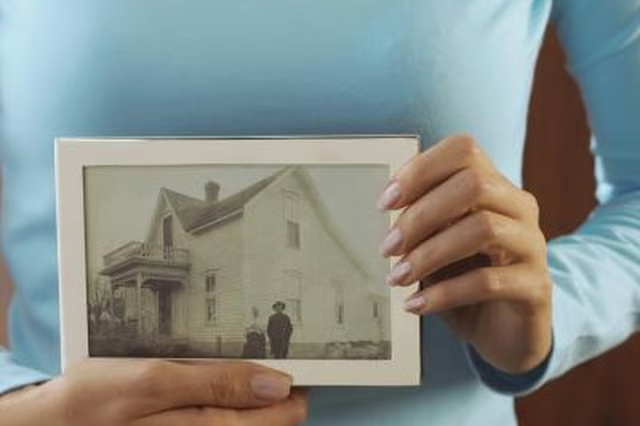
Picture frames -- in countless colors, styles and sizes -- add the finishing touch to a favorite piece of artwork or photo. When you choose frames for wall decor, do not limit your options to those that already have hanging hardware on the back. In just a few minute's time with the right supplies, you can convert a picture frame from standing to a wall frame, repurposing thrift-store finds, existing frames or revamping new ones.
Step 1
Unscrew the brace from the back of the picture frame with a screwdriver, or cut it with a utility knife, running the blade between the frame backing and the brace. This allows the frame to sit flush against the wall.
Step 2
Place the picture frame face-side down on a table in the direction you want to hang it -- either vertically or horizontally. Measure the height of the frame in this position and then divide this number by three.
Step 3
Measure from the top of the frame down on one side the distance calculated in Step 2. Mark the point with a pencil. Repeat on the opposite side. For example, if the picture frame is 12 inches high, create a mark 4 inches from the top of the frame on either side.
Step 4
Position a D-ring so that the plate is right above the pencil mark on the frame and the ring hangs over the edge of the wood, pointing towards the center of the frame. This keeps the ring flexible and the frame against the wall when hung. Secure the D-ring to the frame with the screws provided using a drill. Repeat this on the opposite side.
Step 5
Measure the outside width of the frame. Add approximately 6 inches to this and cut a piece of picture hanging wire to size. By measuring the frame width rather than the space between the D-rings, you create just enough slack in the wire for the frame to hang easily on the wall.
Step 6
Run the ends of the picture framing wire through the D-rings evenly, about 3 inches coming out of each end on each side. Tie the wire to the ring, and wrap the excess around the wire tightly. Clamp down several times over the twist with pliers. Repeat this on the opposite side, and then hang the frame as desired.