
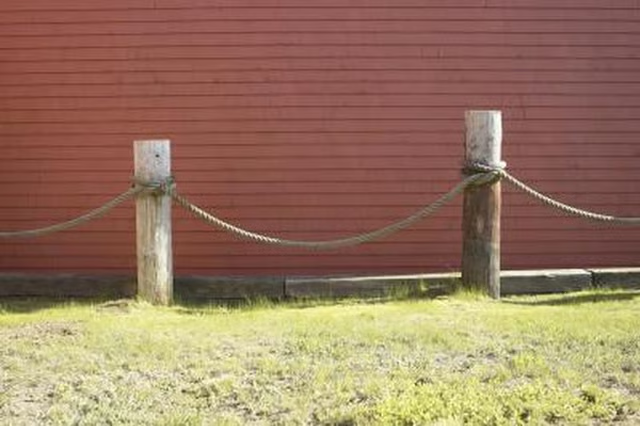


Step 1
Establish your fence line. Place two stakes tied together with strings in the ground to mark the beginning and end point of the fence. The string line serves to help you keep the fence row straight. Mark where you plan to place each fence post with spray paint or another indicator.
Step 2
Dig post holes for the fence. Use hand-held post hole diggers or jobbers if you are just digging a few holes. If you need to dig several holes, consider renting an auger for the task. Make each post hole below the frost line. Typically, this is at least 4 feet deep.
Step 3
Place some gravel in the bottom of the post hole, using a shovel. This allows water to drain away from the post and helps prevent rot. Set the post in the hole. Check that it is straight up and down, or plumb, with a carpenter's level. Fill the hole with dirt. Pack the dirt around the post with a hand tamper. Build a mound of dirt around the top of the post hole so water runs away from the post.
Step 4
Measure the amount of rope you need. Allow for slack between posts and for knots. Determine where the mid-point of the fence is as well as the mid-point of the rope. It's easier to start in the middle and work to the ends.
Step 5
Tie a simple overhand knot or use a clove hitch or another knot of your choice to anchor the mid section of the rope to the middle post. Continue tying the rope to the rest of the posts. Try to keep a similar amount of slack in the rope between posts. Alternatively, use a hole saw to drill holes in the posts. Thread the rope through the holes. Tie an overhand knot in the end of the rope on both ends to keep the rope from fraying.
Step 6
Secure the rope to the posts by embedding screws through the knot in the rope and into the wooden posts. Use at least two screws per post. If you threaded the ropes through holes, omit this step.