



Step 1
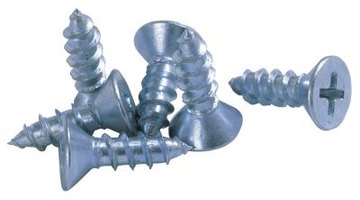
Turn table onto its top. Locate all screws and brackets connecting the tabletop to the pedestal base. Remove bolts, screws or latches to separate the top from the stand. Be careful to avoid stripping the screws, as you will need to reattach the top at a later time. Place all small items removed into a plastic baggie to avoid losing any pieces.
Step 2

Measure the new desired height of the pedestal. Mark the desired line to cut. Measure each side of the pedestal twice to avoid error. Prepare to cut the piece by clearing a safe space and wearing proper safety attire. Use a table saw or other tool to cut the excess height from the top of the pedestal stand. Cut the first side and rotate the stand to make additional cuts. Treat a rounded stand as if it were square by making small "side" cuts and rotating the base. Check for a correct cut by placing the level on top of the pedestal stand. If uneven, adjust by using a measuring square and measuring tape to mark the correct line and make additional cuts.
Step 3

Sand the cut area of the pedestal to create a smooth connection for the table top. Place the base back onto the upside-down tabletop. Measuring distances to the tabletop edges centers the base. Locate the previous connection holes on the underside of the tabletop as a guide. Using the attachment devices removed in the first step, attach the brackets or other connectors to the tabletop before drilling new holes into the base. Secure the connections. Drill coinciding holes on the base stand attachment. Screw the base to the attachment brackets.
Step 4
Finish the project by flipping the table onto its base and verifying the stability. Check for an even tabletop by using the level or square. Correct any errors by tightening or loosening screws as needed. Overtightened brackets can pull the table off center or cause it to lean. Instability may require additional brackets if the original attachments are worn. Add a coat of paint or a fresh layer of wood stain and sealer to complete the project.