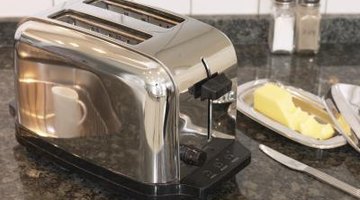
How to Take Apart & Clean Toasters
Removing crumbs and other food particles periodically from your toaster extends the life of the toaster and prevents food from burning. Over time, your toaster may take longer to cook toast and other items or may burn items even when set at a lower temperature. Although you may need to eventually replace the toaster, a thorough cleaning can sometimes do the trick. After spending a little time cleaning, your toaster should operate like normal.

Step 1
Unplug the toaster. Stand over a trash can and open the crumb tray located on the underside of the toaster. Remove crumbs by gently shaking the toaster or use a paper towel to remove stuck-on food particles. Close the crumb tray.
Step 2
Use a flat-head or Phillips-head screwdriver to remove the access panel. Most access panels are located near the toaster knobs. Remove dust, dried food and other particles from the inside toaster using a dry cloth, butter knife, small paint scraper or small round brush.
Step 3
Remove the top of the toaster if possible to access the heating elements. Use a dry cloth or small round brush to remove dried bread crumbs and other particles. If you cannot remove the top of the toaster, you may be able to reach the heating elements through the access panel or through the toaster slots. Use a small brush to push dried crumbs off the heating elements and out through the access panel. Reattach the access panel when done.
Step 4
Apply all-purpose cleaner to a dry cloth and remove dirt and other debris from toaster knobs, exterior parts and power cord.
References
Resources
Tips
- Increase the shine of chrome using aluminum foil. Roll foil into a ball and gently brush across your chrome toaster. Remove rust by gently scraping away rust using a round copper brush or scouring pad.
Warnings
- Always unplug the toaster before taking apart, cleaning or repairing. Never stick objects, metal or otherwise, in the toaster when in use.
Writer Bio
Based in the Washington metro area, Jessica Jones has been a freelance writer since 2006, specializing in business topics. Her fiction has also been featured in publications such as "The Jamaican Observer Sunday Literary Supplement" and at websites including HackWriters. Jones earned a Master of Fine Arts in fiction writing from Lesley University.
Photo Credits
- Hemera Technologies/AbleStock.com/Getty Images
More Articles


