


Step 1
Draft plans yourself using online software made available on deck board manufacturers’ websites to develop your ideas for the irregularly shaped deck. Work from final framing plans stamped by an architect or engineer and approved by your municipal permits department. Especially for irregular shapes, the calculations for determining safe spans for your support posts, beams and joists need to be checked and approved by a professional.
Step 2
Pour concrete footings in tubes to the depth of the mandated frost line for your jurisdiction at the points indicated on your deck plans. Insert anchor bolts in concrete and add post bases and the posts themselves once the concrete sets. Your deck plans will add extra footings and posts to wrap around a corner or to support a beam for a cantilevered frame with a curved edge.
Step 3
Install a ledger with lag bolts to the rim joist atop your house foundation. Double or triple 2-by-10 lumber as mandated by the plans to create beams for your irregularly shaped deck, bolting the lumber together with galvanized lag bolts, washers and nuts every 3 feet. Beams create support for your joists. Lift the beams into place with the help of an assistant onto post-beam caps nailed into the tops of the posts. Nail the caps to the beams.
Step 4
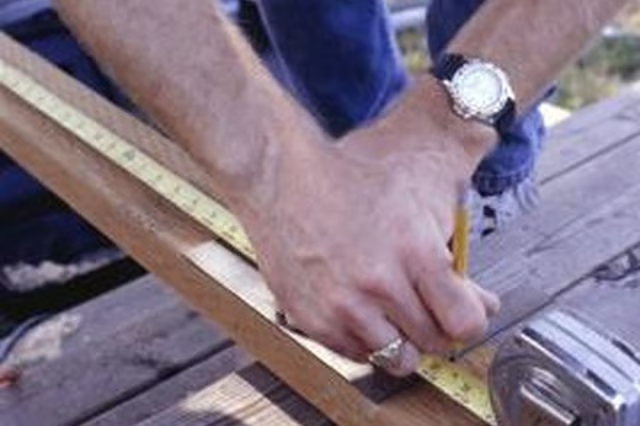
Run your joists from joist hangers on the ledger to the top of the beam. Double joists according to your design and run them out of the ledger at a 45-degree angle to create a corner for a wraparound deck. Run the joists past the beam according to your plans to create a curved deck. Construct a trammel -- a scribe made out of a 1-by-2 with a pencil inserted into a hole at the end -- to swing along the joists and outline your curved shape.
Step 5
Double the joists that run on either side of a tree or boulder in mid-deck by face-nailing one to the other, hanging them in double joist hangers and nailing them in place with galvanized joist nails. Cut headers -- the term for crosspieces between joists -- to run between the doubled joists on either side of the deck obstruction. Double the headers as well and nail them in double joist hangers. The completed work resembles a strong square around the obstruction.