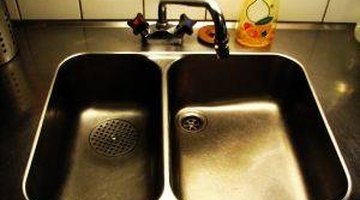
How to Repair Grout Around the Kitchen Sink
Grout around the kitchen sink can undergo a lot of stress. It can become damaged when small cracks or holes form from constant shifting. When water continually runs through the holes, they gradually become larger. However, it is possible to repair grout around the kitchen sink in about 10 to 15 minutes.

-
Remove all of the damaged grout around the kitchen sink with a grout saw. Simply move the saw back and forth over the grout until none, or only very little, remains.
-
Wipe up the remaining grout debris that was left from sawing using a slightly damp sponge. This will allow the caulk to firmly cling to the surface when it is applied.
-
Run a bead of caulk across the joint where the grout was just removed. Ensure the caulk completely covers the joint, leaving no holes or gaps. Instead of using new grout, it's easier to replace the old grout with caulk, and it works well for use around the kitchen sink as it's water resistant, flexible, and prevents future cracking.
-
Allow the caulk to sit for at least one hour before using the kitchen sink. This will allow it to harden and set in the joint properly. Do not get water on the caulk before it has dried completely.
-
Check the caulk for any holes or damage once it has dried. If there are any, patch the area with a small bead of caulk and allow it to dry again before using.
References
- Book: "Taunton's Tiling Complete"; Michael Schweit and Robin Nicholas; 2008
Tips
- A razor knife or a hammer and chisel can be used to remove old grout. Always use them with care, to avoid injury to self or the sink.
Warnings
- Always wear a particle mask when removing old grout. The fine powder that remains should never be inhaled.
Writer Bio
Willow Sidhe is a freelance writer living in the beautiful Hot Springs, AR. She is a certified aromatherapist with a background in herbalism. She has extensive experience gardening, with a specialty in indoor plants and herbs. Sidhe's work has been published on numerous Web sites, including Gardenguides.com.
Photo Credits
- Johanna Ljungblom
More Articles


