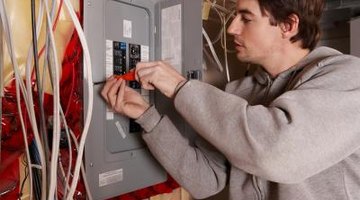
How to Design a Breaker Panel Layout for a House
You only have one rule to follow when deciding how to lay out a breaker panel--you must connect the cables that enter on the left side of the panel to the breakers on the left side, and connect the cables that enter on the right side of the panel to the breakers on the right side. Other than that, you are free to lay out your breaker panel in the manner you find most convenient, or you can follow the typical layout described below.

Step 1
Lay out the smaller single-pole breakers for the 120-volt circuits on the left side and the larger double-pole breakers for 240-volt circuits on the right side.
Step 2
Group the breakers on the left side according to room or function. For example, put the kitchen breakers for the dishwasher, refrigerator and receptacles together on the top left side.
Step 3
Leave a spare slot under the kitchen breakers to allow for future expansion. Group all the lighting breakers together below the kitchen breakers and leave another spare slot at the bottom of that group.
Step 4
Put the bathroom ground fault circuit interrupter (GFCI) breakers below the lighting section, and follow those with the rest of the GFCI breakers for the receptacles in the garage, the basement, the outside, the bedrooms and the utility room.
Step 5
Install the 240-volt double-pole breaker for the stove circuit on the top right of the panel, across from the breakers for the kitchen circuits. Put the breaker for the electric water heater circuit below the stove breaker.
Step 6
Leave a space or two below the water heater for any heating or cooling circuit breakers. Put the breaker for your water pump next if you have a well. Then finish with the breaker for the electric dryer on the bottom right, across from the breaker for the utility room or washing machine.
References
- Wiring a House; Rex Cauldwell; 2002
Writer Bio
Etienne Caron teaches English to speakers of other languages and has been writing for Demand Studios since 2009. He graduated from Westfield State College in 1993 with a bachelor's degree in regional planning.
Photo Credits
- Jupiterimages/Photos.com/Getty Images
More Articles


