How to Replace a Baseboard Heater Limit Switch
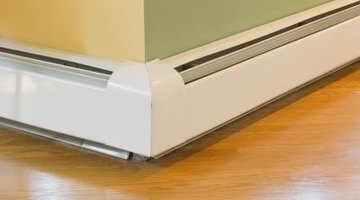
Baseboard heaters are small heating units that simply attach to the baseboards in your home and offer an alternative for homes that don’t have central heating. The heaters also include a limit switch, which is a part within the wiring compartment that makes sure the heater doesn’t overheat or go over the set limit. If your baseboard heater is overheating, you can easily replace the limit switch part with a new one.

Step 1
Turn off the electrical power to the baseboard heater from the household circuit breaker.
Step 2
Remove the screws from the electrical connection cover on the front side of the baseboard heater with a Phillips head screwdriver. Lift up and remove the cover.
Step 3
Locate the limit switch, which is a small white, plastic box at the bottom of the wiring compartment.
Step 4
Remove the center screw from the limit switch then pull out the limit switch part from the wiring compartment.
Step 5
Disconnect the wires from the old limit switch and transfer them to the replacement part. Discard the old switch and place the new limit switch into the bottom of the wiring compartment.
Step 6
Reinsert the center screw into the limit switch then place the electrical connection cover back onto the baseboard heater.
Step 7
Reinsert the screws into the cover then turn the electrical power back on at the household circuit breaker.
References
Photo Credits
- Thinkstock Images/Comstock/Getty Images
More Articles


