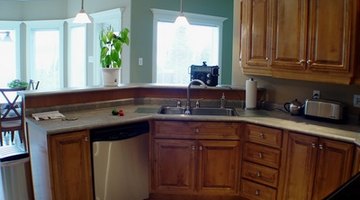
How to Put Endcaps on Kitchen Countertops
Laminate countertops are one of the easiest types of countertops to install. Do it yourselfers can install a laminate countertop in a day. However, although many homeowners can install a laminate countertop, it may be more difficult to finish off the laminate countertop with an end cap. Learn how to install an end cap on your kitchen countertop for a finished and professional look.

-
Glue the battens from the end cap kit into place on the underside of the edge of the countertop. The battens should align with the edge of the countertop, making a flush wooden edge. Depending on the kit and your countertop, you may need to cut the battens to size before installing. Use wood clue to secure the battens. Once glued, use C-clamps to hold the battens in place while the glue dries. Allow the glue to dry overnight before removing the C-clamps.
-
Use sandpaper to sand down any high points on the end of the countertop. There should be no high ridges or large bumps. Ultimately, the end should be flush, not sanded too much and without any large bumps.
-
Clean the edge of the countertop so it is free from sawdust or debris. Use a damp cloth to carefully remove the sawdust.
-
Warm up the flat iron to a medium heat. Hold the end cap in place next to the countertop, with the adhesive facing in toward the battens. Run the warm iron over the end cap piece to activate the adhesive. When done correctly, the adhesive should not stick to the iron. Wait for the adhesive on the end cap to cool down. Once cool, check the end cap to see if the adhesive is properly secured to the countertop. If it did not completely adhere, you will need to run the iron over the end cap again.
-
Use a fine file to level the end cap with the countertop. Always file in the direction of the countertop. This will help to avoid pulling the end cap off or chipping the end cap.
References
Writer Bio
Cadence Johansen is a freelance writer who enjoys writing about travel, marriage, family relationships, caregiver support, home improvement and money. Johansen has been writing professionally since 2008. She holds a master's degree in family studies from Utah State University.
Photo Credits
- modern kitchen image by Melking from Fotolia.com
More Articles


