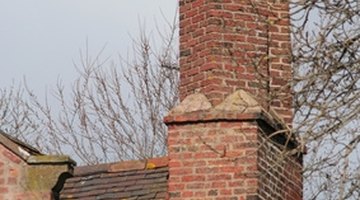
How to Lay a Brick Chimney
Building a chimney the right way could save your home from serious damage. It will also affect how your fire burns. Properly built chimneys draft better and help the fireplace produce a better fire. If you are building a chimney yourself, be prepared for a lot of work. Also, get familiar with building codes for chimneys, as they vary from town to town. Once you have this information squarely in grasp, it's time to grab a trowel and get started.

-
Measure the width of the inside of the chimney, using a tape measure. For a fireplace, it must be at least 8 inches wide. For a stove or heat furnace, the chimney width is at least 6 inches.
-
Measure the dimensions for the outside of the chimney, beginning from the top of the hearth. Establish the total dimensions from one end to the other, and from front to back. Measure to ensure there is proper clearance from the walls. If the chimney goes through the wall (horizontally), the clearance is 12 inches from combustible materials. It must have 8 inches of brick and mortar, which means two layers of bricks on each side. Chimney clearances for combustible materials on other chimneys must be 2 inches, or 1 inch for exterior chimneys. Mark off the exterior dimensions of the chimney with stakes and string.
-
Lay the first row of bricks for the chimney. Trowel a bed of mortar onto the first row and set the bricks into the mortar bed. Level each brick with the carpenter's level. While the mortar is setting, tap the brick on one side with the trowel handle to level it. Continue to lay bricks in this fashion until you have established the first row of masonry.
-
Level the top of the first row with the carpenter's level and make any adjustments as needed. Scrape the excess mortar with the edge of the trowel. Trowel mortar on top of this row, and begin setting the bricks for the second row. Lay these bricks and subsequent rows until you have about a foot of chimney completed.
-
Trowel mortar onto the underside of a flue tile. Slide the flue tile inside the chimney and set it with the level to a plumb position. The sides must be flat and square for the next flue tile. Build up the chimney rows again until you have another foot of chimney completed. Mortar the top of the flue tile inside the chimney and install the next flue tile with mortar.
-
Build up the chimney in this manner. The total chimney height must extend 3 feet above the roof, from the up-slope side (or highest point) of the roof.
References
Writer Bio
Steve Smith has published articles on a wide range of topics including cars, travel, lifestyle, business, golf, weddings and careers. His articles, features and news stories have appeared in newspapers, consumer magazines and on various websites. Smith holds a Bachelor of Arts in English and journalism from University of New Hampshire Durham.
Photo Credits
- chimney stack image by hazel proudlove from Fotolia.com
More Articles


