


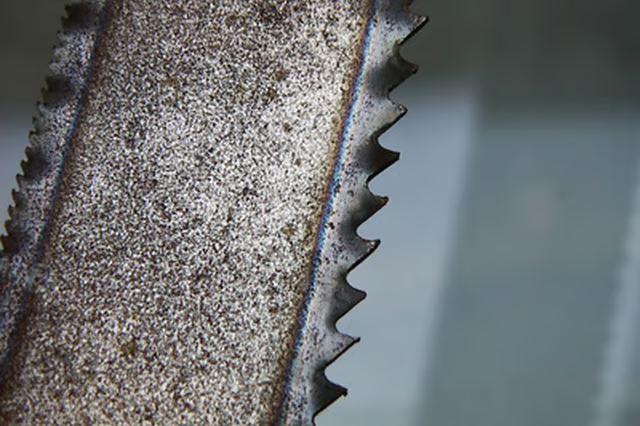
Step 1
Turn off the Ryobi band saw and unplug it from the power outlet.
Step 2
Unscrew the wing nut and bolt from the saw table, which are located on the side -- in line with the blade.
Step 3
Open the cover by unlocking both of the latches (on the side).
Step 4
Turn the lock knob, the outer knob on the side, towards you to unlock the blade holder (also called the blade guide assembly). Turn the blade guide knob until the blade holder is halfway from the saw table. Turn the lock knob away from you to relock the blade holder.
Step 5
Unscrew the two screws that are lined up above the blade, holding the blade in place. Use a Phillips screwdriver.
Step 6
Remove the blade guard, which is located behind the two screws.
Step 7
Ease the tension on the blade by pushing the blade tension lever--located on the upper right hand side of the band saw--to the front of the saw.
Step 8
Take out the old blade and discard it.
Step 9
Put on a pair of protective gloves to handle the new blade.
Step 10
Open the new blade and wipe any oil from its surface, if it has been oiled. Although the Ryobi band saw originally comes with a ¼-inch blade, the BS903 saw will accommodate a blade width between 1/8 of an inch and 3/8 of an inch.
Step 11
Put the new blade through the blade guides, with the teeth of the blade to face towards the back of the band saw.
Step 12
Make sure the new blade is centered.
Step 13
Renew the tension on the new blade by turning the blade tension knob on the top of the band-saw platform.
Step 14
Replace the blade guard. Retighten the two screws that you previously loosened.
Step 15
Retighten the wing nut and bolt on the saw table.
Step 16
Close the cover on the front and reattach the closures.