

Things You Will Need
-
Turn off the water lines. There are two supply lines that are atttached to your faucet, one for cold and one for hot. You may be able to turn off the supply lines directly under your kitchen sink, or the water may have to be turned off at the water tank or where it enters the house.
-
Turn on the faucet to run all the water out of the lines, once you have turned off the water.
-
Place a bucket underneath the sink to catch any water left in water lines and pipes.
-
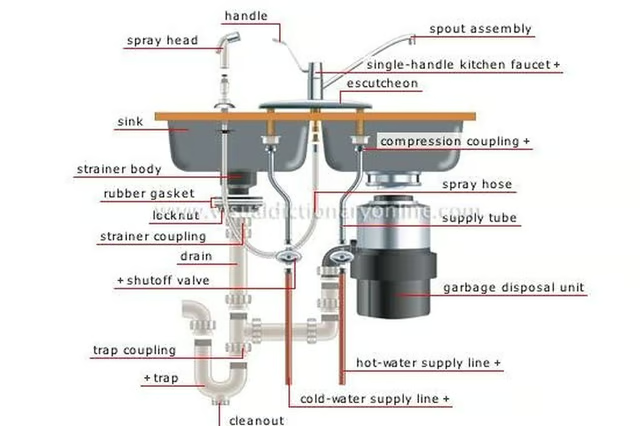
Using an adjustble wrench, turn the nuts that attach the water supply lines to the faucet in a counter clockwise motion. It should only take a few turns of the wrench to loosen the nuts, as plumbing connections are never overly tightened. Disconnect from the sink.
-
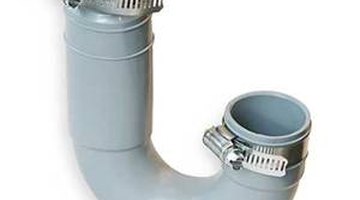
Loosen the nuts that hold the plumbing pipes and J-trap to the sink. You may be able to do this by hand using gloves. These fittings are normally not over-tightened to prevent damage to the washers. If you have a double sink, you will need to loosen both sets of pipes that lead to the trap. If you wish to remove the sink, you may leave the trap in place and only unscrew the nuts that attach the sink.
-
Remove the sink from the counter opening to make removing the strainer easier.
-
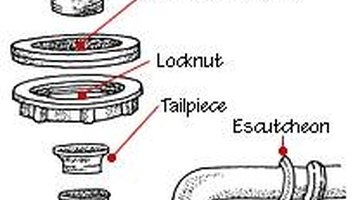
Using a spud wrench, unscrew the locknut by turning counter clockwise. This will release the strainer body from the sink. Repeat, if needed, for a double bowl sink.
-
Use a basin wrench to loosen the supply lines that are attached to the faucet. You have already disconnected these lines from the incoming hot and cold water supply. Now you will remove them from the faucet.
-
Using a basin wrench, remove the nuts holding the supply lines to the hot and cold bases to the sink.
-
Disconnect the connector hose of the sprayer, if your sink has one. See image below in Step 3.
-
Loosen and remove the mounting nuts that hold the faucet to the sink. There may be three of these, depending on the faucet.
-
Remove the faucet from the sink by pulling upward. The mounting base will come off the sink once the faucet has been removed.