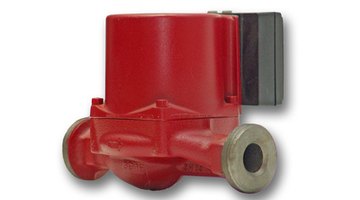
Wiring Instructions for a Hunter PSR-22 Pump Start Relay
A home located in a low water pressure area can have serious problems with its sprinkler system. Most systems require at least 45 psi of water pressure; if this minimum is not met, sprinkler heads will not operate correctly, and large, dry, brown areas are likely to develop in the lawn. One way to circumvent this problem is to install a pump onto the main line for the sprinkler system. This pump requires a special relay switch -- such as the Hunter PSR-22 -- that you must properly wire into the sprinkler system's controller before it will operate correctly.

Step 1
Unplug the power supplies to the pump switch as well as the sprinkler controller.
Step 2
Locate the two thinnest wires extending from the pump start relay, and strip 1/2 inch of insulation from the end of both wires using the wire strippers. Use the gauge on the side of the strippers to determine the best slot on the tool with which to strip the wires.
Step 3
Loosen the master valve and common wire screws in the sprinkler controller with the flat head screwdriver. You can usually find these screws next to black wires and white wires, as well as the markings "P/MV" (Primary/Master Valve) and "C" (Common wire).
Step 4
Secure the black wire from the pump relay into the "P/MV" slot on the irrigation controller by inserting the stripped portion of the wire underneath the "P/MV" screw and tightening it with the flathead screwdriver. Repeat with the white wire from the pump relay and the "C" screw.
Step 5
Restore power to the pump and the sprinkler controller by plugging them back in.
Resources
Writer Bio
C. Paul Martin began writing in 2003 while studying at Christendom College, Va. He specializes in theological/ideological history and socio-historical topics such as the Reformation, the Crusades and the ideology of revolutions. Martin holds Bachelor of Arts degrees in history and theology, and is pursuing his Master of Arts in history at National University in California.
Photo Credits
- Flowing water pump for hot water. Isolated on white. image by diter from Fotolia.com
More Articles


