
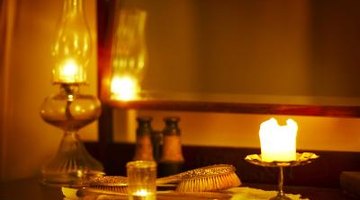
How to Restore Gone with the Wind Lamps

When the movie version of Margaret Mitchell's novel "Gone with the Wind" appeared on the silver screen, it entranced audiences with its settings as much as with its plot and characters. One result was the sudden rage for Gone with the Wind lamps, with the globe design updated for electricity. Despite the years of heavy usage, restoring a Gone with the Wind lamp offers a nostalgic look at a bygone era.
Step 1
Determine which pieces of the lamp need replacing and which pieces you can use again. The fragile glass parts include the chimney, ball shade and font. The metal pieces usually include the top ring, the ball shade holder, the burner and the base. Restoration pieces are available through lighting stores and online.
Step 2
Choose your light source. You can fuel a Gone with the Wind lamp with lamp oil or power it with electricity. If you decide on lamp oil, thread a fresh lamp wick into the center burner. Place the lamp oil in the font. Join the base to the burner, the chimney and the ball shade and holder. If you decide on an electrical power source, thread the electrical cord through the bottom of the lamp, up through the top to the socket and light bulb.
Step 3
Replace any chimney that has chipped, cracked or broken glass. As you put the chimney in place, make sure to press the metal holders, or fingers, loosely around the base of the chimney. This way, when the chimney heats and expands, the glass won't break.
Step 4
Select the glass base and shade of the Gone with the Wind lamp. Look for glass shades in a globe shape with glass ruffles along the top. Purchase the base and shade with flowers and leaves in a swirling pattern. Etched glass is another possibility.
References
Resources
Writer Bio
Teresa Dashwood began writing professionally in 1984. Ye Galleon Press published her book "Warrior of the Mist" in 1996 and 2003. Dashwood completed her Bachelor of Arts in literature and Master of Arts in teaching from Gonzaga University. She also holds a Master of Fine Arts in writing from Eastern Washington University.
Photo Credits
- Thomas Northcut/Lifesize/Getty Images
More Articles