


Gasket
Ensure the rubber gasket is in proper condition before you begin to seal your shower drain. The gasket is circular in shape and is located between the drain hole in the shower pan and the drain fitting below, so it might be difficult to see. Gently reach through the drain hole to move the drain fitting to the side until you can view the gasket. If the gasket is cut or bent, replace it with a new one. A quality gasket plays a key role in preventing leaks.
Caulking
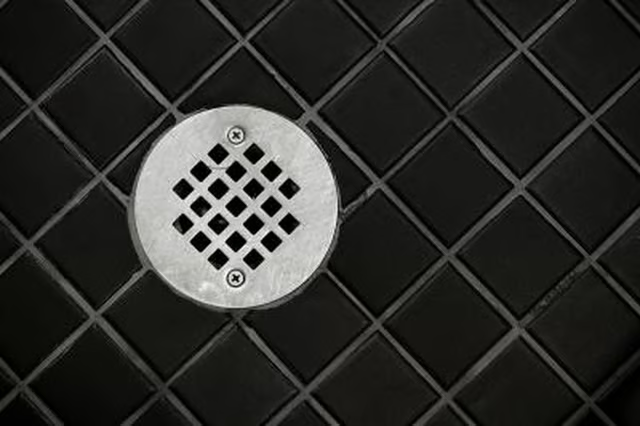
The strainer body looks a bit like a funnel, with a lip at the top that fits over the drain hole in the shower pan and has two threaded screw holes on the sides for installing the drain grate and a threaded male bottom that screws into the threads on the drain fitting. When you're ready to install the shower strainer body, apply a bead of caulk around the underside of the shower strainer where it sits against the flange of the shower pan as well as a thin layer on the threads of the strainer fitting. When you've caulked the area, screw the strainer firmly into position.
Plumber's Putty
Plumber's putty is another substance commonly used to create strong seals for plumbing applications such as shower drains. It is typically available in small tubs. Use a putty knife or your finger to cover the bottom of the shower strainer with the putty, and then screw the strainer into position over the flange.
Other
When you screw the shower strainer body into place, it should contain enough caulk or plumber's putty that some of the substance you use escapes out around the edges of the strainer. This excess is a sign that you have enough caulk or putty. If you don't have enough, the seal will not be as strong as it should be. If you don't notice excess caulk or putty, remove the shower strainer and add more of either substance. Simply remove the excess with a damp towel. Screw the grate into place.