
How to Wire in Resistors in an Alarm Box

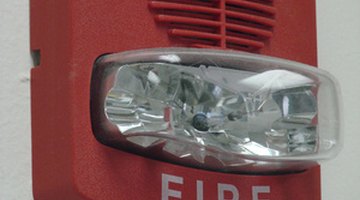
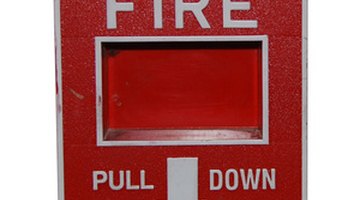
Modern alarm systems are intelligent systems that monitor themselves. They monitor their own state of well-being and their system integrity. The End of Line (EOL) Resistor plays a major role in this self-monitoring function. The EOL Resistor determines the intensity of the current flowing in the zone loop. A change in this current caused by a sensor going bad or by a sensor being removed sets off a trouble alarm at the panel. Not all alarm zones are used on every alarm panel. When this happens the EOL Resistor is moved to the panel itself because every zone needs to have an EOL Resistor, even if there isn't a loop attached to the zone terminals at the panel.

Step 1
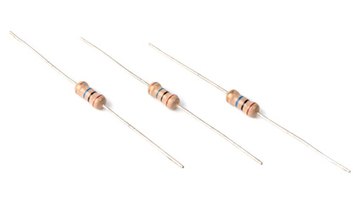
Select the End of Line Resistors based on the documentation that came with your alarm control panel. The size of the End of Line resistors required varies by system manufacturer, but 4.7K ohms (1K = 1000 Ohms) is typical for most smoke and fire alarm systems. You will need one for each zone on the panel. The resistors' wattage rating isn't critical, but most technicians use 1/4 or 1/2 watt carbon composition resistors.
Step 2
Remove the control panel's cover and set it aside. Use caution if you are working on an active alarm system that you aren't able to shut down completely while servicing. The typical zone loop voltage is 24 volts DC but it's possible to be exposed to the 110 volt line voltage on some panels. If possible, you should shut down the system by switching off the circuit breaker controlling the alarm system and disconnecting the battery back up. All you have to do if the system is monitored from a remote monitoring station is call the station and inform them that you are shutting the system down for servicing. Just don't forget to call them when the system is back on line.
Step 3

Make 90-degree bends in the resistors' leads so that they line up with the terminal screw spacing. Make loops in the ends of the leads in a clockwise direction.
Step 4
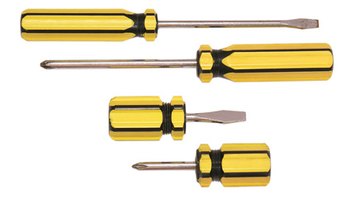
Place the looped ends of the leads under the terminal screws in a clockwise direction and tighten the terminal screws snugly. Resistors aren't polarity-sensitive so it doesn't matter which wire goes to which screw.
Step 5
Reconnect the battery back up. Close up the panel. Turn the circuit breaker back on. Call the central monitoring station and tell them that the servicing is complete and the system is online and armed.
References
Resources
Writer Bio
Based in Colorado Springs, Colo., Jerry Walch has been writing articles for the DIY market since 1974. His work has appeared in “Family Handyman” magazine, “Popular Science,” "Popular Mechanics," “Handy” and other publications. Walch spent 40 years working in the electrical trades and holds an Associate of Applied Science in applied electrical engineering technology from Alvin Junior College.
Photo Credits
- Break Glass Units image by Hedgehog from Fotolia.com
- widerstand, resistor image by Sascha Zlatkov from Fotolia.com
- screwdrivers image by Pavel Losevsky from Fotolia.com
- pliers image by Jakub Cejpek from Fotolia.com
- fire alarm image by Pix by Marti from Fotolia.com
- Fire alarm button image by TekinT from Fotolia.com
More Articles