
Install the Foundation
Vinyl lattice fencing requires a foundation on which the framework is mounted. 4 x 4 inch pressure treated posts, cemented into the ground, create a stable base. Depending on wind load requirements and local soil conditions, post-hole depths can range from 18 to 36 inches. The deeper the post hole, the stronger the fence. Post holes can be dug by hand or by using a gas powered post-hole digger. The post holes should be dug in-line and spaced at 8 foot intervals. Most installers use a string level to ensure the straightness of the fence line during this process. Install the posts so that 5 feet of post is exposed above ground when finished.
There are two methods for cementing the post holes. The cement can be poured directly into the post hole as a premixed liquid. The cement is mixed by hand in a wheel barrow, and poured into each post hole. If it is a large job, another option is to hire a cement truck to bring pre-mixed concrete to the jobsite. The second method is much easier and less expensive. Pour approximately two bags of powdered concrete into each hole, and thoroughly soak each hole with water. Both methods require the same concrete set-up time. The fence posts must be braced while the concrete is hardening, so they do not move.
Install the Framework
The framework of the fence is created by attaching 2 x 6 inch pressure treated rails between the posts using fence rail mounts (inexpensive hardware available at local hardware stores). The frame requires top and bottom rails for mounting the vinyl fence panel. The bottom of the bottom rail should be mounted 6 to 12 inches from the ground. The top of the top rail should be mounted 4 feet above the ground. The framework should be painted prior to installing the vinyl lattice fence panels. The framework can be painted to blend or contrast with the PVC panels. Always use an oil-based primer when painting pressure treated wood. If water-based paint is used as a primer, the chemicals in the pressure treated wood will leech through the final coat of paint.
Install the Panels
The panels are installed by fastening them to the framework using staples or deck screws. Deck screws are preferable because they do not require painting and are designed not to rust. The alignment of the first panel is critical. Make sure that the panel is level both vertically and horizontally. When installing the PVC panels, set them in place and insert only three screws along the top of each panel. This will hold the panels in place until they are all up. The reason for this is if adjustments need to be made to the panels, then only removing three screws allows the panel to be adjusted. Once the panels are properly aligned the fasteners can be installed around the perimeter of each panel. Insert the fasteners approximately every 6 inches.
Sometimes the vinyl lattice will need to be cut to fit. The best way to cut PVC lattice is to use a circular saw with a vinyl cutting blade. These blades are expensive and produce less damage to the lattice while cutting. An alternative to using a vinyl blade is to flip a standard blade on the saw so that it rotates in the opposite direction, producing less stress on the vinyl lattice.
Install the Gate
Gates are always installed between two posts. Typically gates are 3 feet wide, but can be larger if necessary. The framework of the gate is made of 2 x 6 inch pressure treated wood. L-brackets and T-brackets should be used on each corner to hold the boards together. Two gate hinges should be installed on one side of the gate and a latch should be installed on the other. All hardware should be installed on the inside of the gate so that it is not visible from outside of the gate. All of the necessary hardware is available at any hardware retailer. The lattice is cut to fit the gate framework, and installed using screws around the perimeter of the gate frame.
Tools
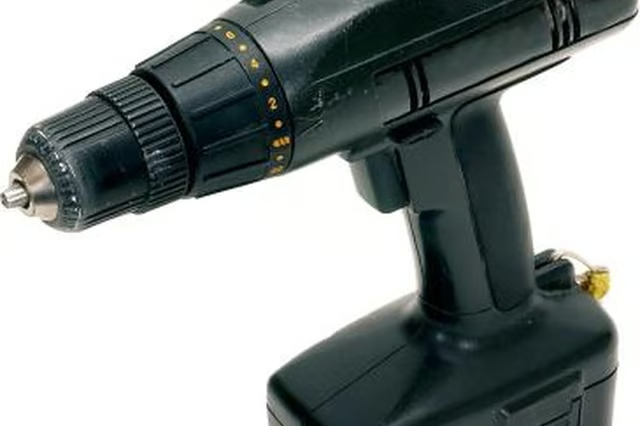
The tools needed to complete this project include tape measure (25 feet long), posthole digger (manual or gas powered), shovel, carpenter's level, string level, quick-setting concrete (75 or 100 pound bags), circular saw, electric drill, extension cord, and hammer.