


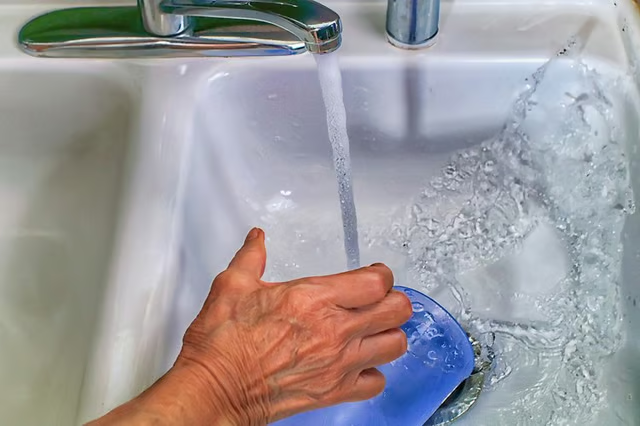
While air trapped inside the plumbing system is unlikely to cause damage to either the fixtures or the pipes themselves, it can be an aggravating, even scary, problem. Bleeding the air out is the best solution.
Things You Will Need
-
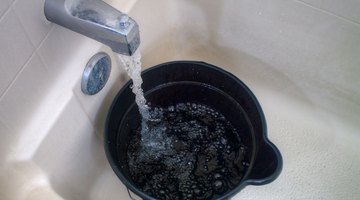
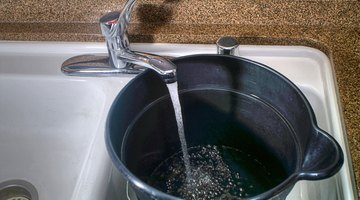
Station a bucket under as many taps in the home as possible, including in the shower or tub. Buckets allow you to catch water and use it rather than waste it down the drain as you clear the lines.
-
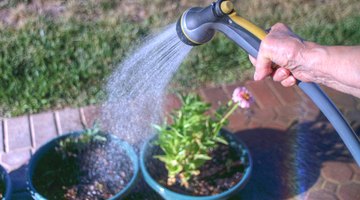
Connect a hose to outside faucets, and direct the open hose end to a birdbath or to outdoor plants, even to a dry lawn.
-
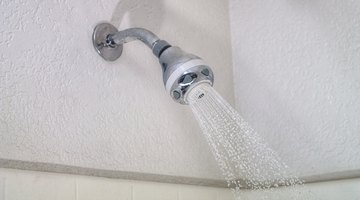
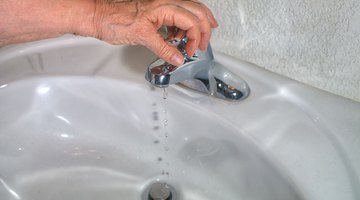
Turn the water on throughout the house: open every faucet or tap, flush all the toilets, run the bath, turn on the shower and start a fill cycle on the washing machine and dishwasher. Do this systematically, beginning on the uppermost floor of your home and proceeding to the lowest level. That way, you’ll catch every water line in the home.
-
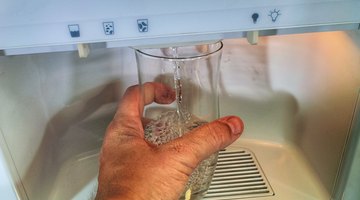
Hold a cup under the cold water outlet of your refrigerator, if so equipped. Hang on to the cup as you allow water to run into it.
-
Listen for the the sound of running water and the end of sputtering and coughing. Once the taps all run only water, turn them off one by one. Move in the opposite direction that you turned them all on, closing the lowest-level faucets and working your way to the highest level of the home. That way, you’ll ensure all the faucets are off.
-
Water your plants, wash your car, or wash the dishes in the water you caught in all those buckets.
The Drip Cap
- If you turn on the faucet expecting a steady stream of water only to experience water coughing and sputtering with a force that nearly knocks a glass from your hands, your water lines have air in them.
- Bleeding the air out is the best solution.
- Connect a hose to outside faucets, and direct the open hose end to a birdbath or to outdoor plants, even to a dry lawn.
- Move in the opposite direction that you turned them all on, closing the lowest-level faucets and working your way to the highest level of the home.