


Shopping
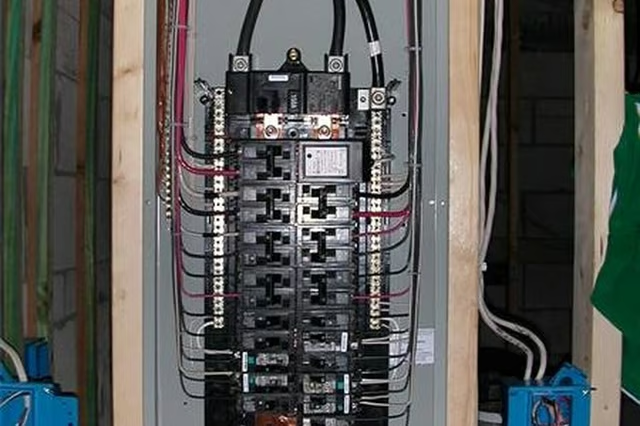
The two numbers you see on the panel package indicate the number of full-size breakers you can install and the number of circuits allowed. Spend a few extra dollars to get a full-size panel because it is much easier to wire and keep well-organized.
Location
Install the panel back-to-back with the meter base, if possible. Your local regulations may specify a maximum permissible distance and you will need a cutoff panel next to the meter if your panel is too far away. In addition, you want the panel in a location where you there is nothing in the way and you can work on it comfortably--and get to it fast if the need arises. If possible, avoid installing the panel in the basement--it increases the risk of problems due to moisture and water leaks. If you must install in the basement, run the cable up into the bottom of the panel and along the side to the top to make the connection with the main breaker so there is no way for water to enter the panel.
Wall Mount
If your panel has a solid back, you can hang it like a picture, using a screw in the center hole. Level the panel and then put four more screws--not nails--in the corners. If installing against masonry, use pressure-treated spacers between the panel and the wall.
Stud Mount
If you install the panel between 16-inch studs, remember that you won't be able to use the side knockouts for the wires without cutting holes in the studs--you'll have to bring in the cables through the top or bottom of the panel. If you need to drill holes in the top or bottom plate, you can keep things neat by just making two 6-inch-long oval cuts spaced 2 inches apart. Use the left hole for the cables that will go on the left of the panel and the right hole for the cables that go on the right. For 24-inch studs, you'll need a crosspiece attached to the bottom or top of the panel. Finally, leave the panel sticking out from the studs enough to be flush with your finished wall.