How to Mount an Electrical Panel
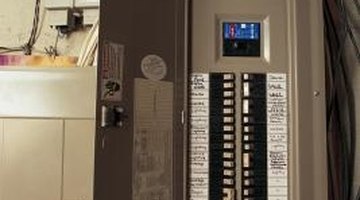
An electrical panel is the central distribution center of all the electricity throughout your home. The panel is a metal box that houses a row or rows of circuit breakers that can used to disconnect the power to different areas of your home. An electrician runs electrical wires from the outlets, fixtures and appliances to the electrical panel and ties them in to circuit breakers. Mounting the panel is easy enough for a homeowner to do himself, but the actual work of wiring electricity into the panel should be left to a licensed electrician.

-
Check with your local code enforcement agency for specific requirements for mounting an electrical panel. There may be variations in code regarding the height and distance requirements between utilities.
-
Select the best location in your home for the electrical panel. Make sure the location is compliant with the local electrical code.
-
Install a 4-by-4 foot sheet of 1/2-inch to 3/4-inch plywood to serve as an anchor for the panel.
-
Measure the back of the panel to determine the position of the center screw slot on the top of the panel.
-
Drill a screw into the plywood in the appropriate place for the center panel screw, as determined by your measurements of the box and the desired height for the panel.
-
Place a level on top of the panel and adjust the panel until it is level.
-
Drive two screws into position through the top two mounting holes. Check that the box is still level.
-
Drive screws through the bottom two mounting holes to complete the task.
References
Tips
- Use concrete screws to install the plywood to concrete or block walls.
Writer Bio
A former cake decorator and competitive horticulturist, Amelia Allonsy is most at home in the kitchen or with her hands in the dirt. She received her Bachelor's degree from West Virginia University. Her work has been published in the San Francisco Chronicle and on other websites.
Photo Credits
- Comstock/Comstock/Getty Images
More Articles


