Things You Will Need
-
Check for existing wire at the front door and at any carport door, side door or back door. Find the other end of each wire at the doorbell chime location.
-
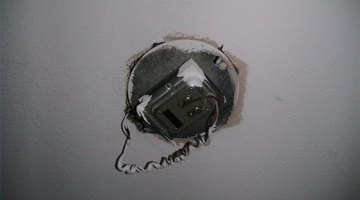
Look for the doorbell power transformer. This is most commonly located high on the wall or on the ceiling of the coat closet, linen closet or another closet convenient to the doorbell chimes. If not there, look by the water heater or in the garage.
-
Test the doorbell transformer with a multi-tester. There should be 18 to 24 volts alternating current across the two connection screws. If there is no voltage, check the power supply. If the power supply is good, then replace the transformer.
-
Leave at least one wire disconnected from the transformer until all other installations are complete.
-
Connect the doorbell button at the front door. It does not matter which wire goes to which connector on the button.
-
Remove the cover from the existing doorbell chimes. If installing new chimes, mount them where the old ones were or where the wires for the chimes come out of the wall. The ideal location for chimes is usually near the center of the home, between the front rooms (living room, dining room, kitchen) and the bedrooms.
-
Use the multi-tester to identify the wires from the transformer and from each doorbell button. Label these wires clearly to minimize confusion.
-
Connect a single wire from the transformer to one wire from each doorbell button. When you are done, there will be one or more doorbell button wires connected to one of the transformer wires, and the other transformer wire will remain free.
-
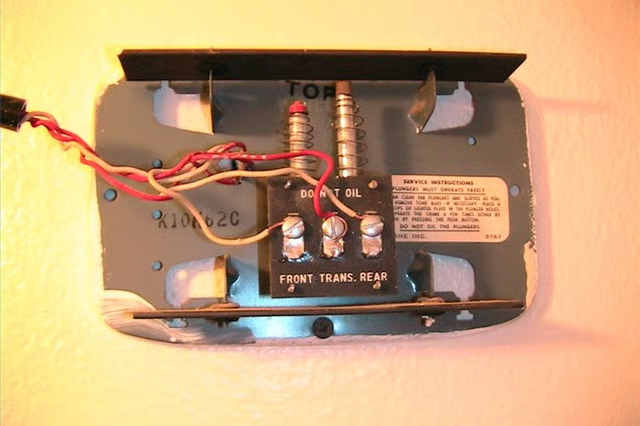
Connect the other wire from the transformer to the transformer connection on the doorbell chimes.
-
Connect the free wire from the front doorbell to the "Front" connection on the doorbell chimes and the free wire from any remaining doorbell buttons to the "Rear" connection on the chimes.
-
Replace the cover on the chimes and connect the wires to the transformer. Test the system for proper operation by pressing each doorbell button at least once.